How to Draw a Pumpkin Face, Pumpkin Face


1
Make a large semi oval shape for the outline of your pumpkin. Draw in the guides for the face and move along.

2
Make the actual texture lining of the pumpkin. There is a few layers of bulk as you can see. This is the bumpy pattern on the pumpkin.
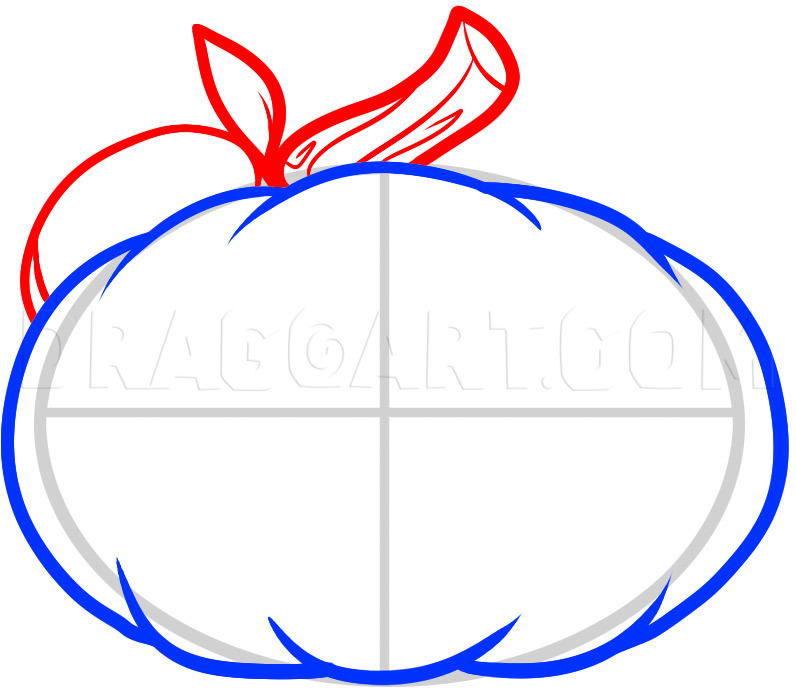
3
Draw in the pumpkin stem, and then draw in a leaf, and short vine twirl. Sketch in texture to the stem and move to step four.

4
Draw out the candy corn shaped eyes like so, and be sure to include the actual pupil rounds. Draw in the depth lining and continue to step five.

5
For the last drawing step, draw in the skeletal style nose, and then draw the mouth which is something I left pretty standard. Erase the lines and mistakes and move along to see what your finished pumpkin face looks like.

6
Here is the line art and you can choose to print it out and use it, or you can color it in. No matter what you choose it will be great.
Comments 0
Details
October 6, 2011
Description: I’m going to get all the festive lessons out of the way today because there is some stuff I want to work on for tomorrow. Up next you will get the opportunity to teach yourself "how to draw a pumpkin face", step by step. I wanted to do away with the typical jack-o-lantern style face, so I went ahead and made something of my own that is both bright, slightly spooky in a friendly kind of way, and definitely fun to do. This is great picture to print out and use on your very own pumpkin carving. In fact, when I get a pumpkin big enough, I plan on making my own creation for a pumpkin face and when I do carve in the face, I will take a picture and submit it on my next update message or Facebook page. Anyways, I guess that’s all I have to say. I will be back with another fun Halloween inspired tutorial in a few. Enjoy the task of drawing a pumpkin face, peace!


