How to Draw an iPod


1
iPods are fairly simple to draw if you under stand what shapes they are made of. We're going to start off with a rectangular flat box. This will make up the base of our iPod.

2
Next we're going to round off the edges because the corners of an iPod aren't square, they're round. We'll also add a rectangle on the bottom side of the iPod where the usb/dock port is.

3
Next we'll add the wheel. The wheel is the pressure sensitive ring on the face of the iPod. To draw it we'll dimply draw two circles, one smaller than the other, on the face. The bigger circle on the outside and the smaller circles on the in.

4
From there we'll add the screen of the iPod. Just draw a rectangle above the wheel on the face of the iPod. All sides of this rectangle, save the bottom, should be equidistant from the sides.

5
Now we can add the cord for the earbuds. This part is simple. Draw a long slender noodle coming out of the top right hand corner of the iPod. There the cord and iPod meet, we'll draw a half pill shape, this is where the connector is.

6
Now we can add the buds on. They have the shape like a bubble 'b' or 'd' but with a line where the tall side meets the round part.

7
Now we can start adding the details. First we're going to start with the buttons on the wheel. The top button is 'MENU' the left button is skip back which looks like "||". And lastly we have the play/pause button which looks like ">||"
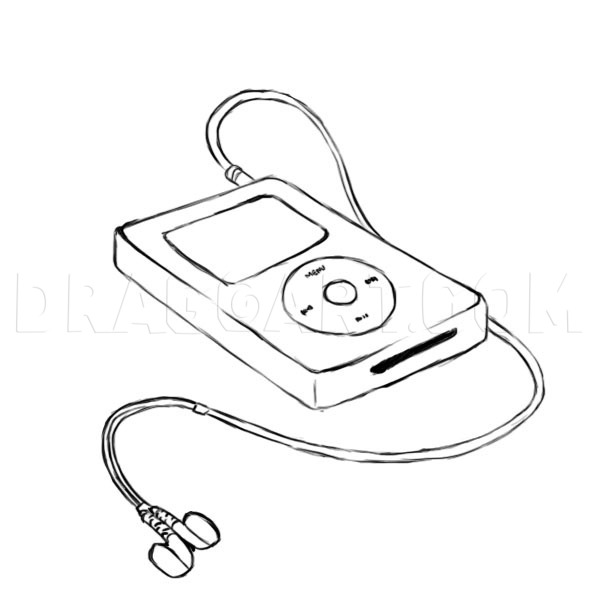
8
Now you're all set to outline your ipod and add all the little details like the slider part on the earbuds, the part that bends where the cord meets the buds and other minor details. And there you have it, how to draw and iPod.


