The Great Wave Drawing Lesson


1
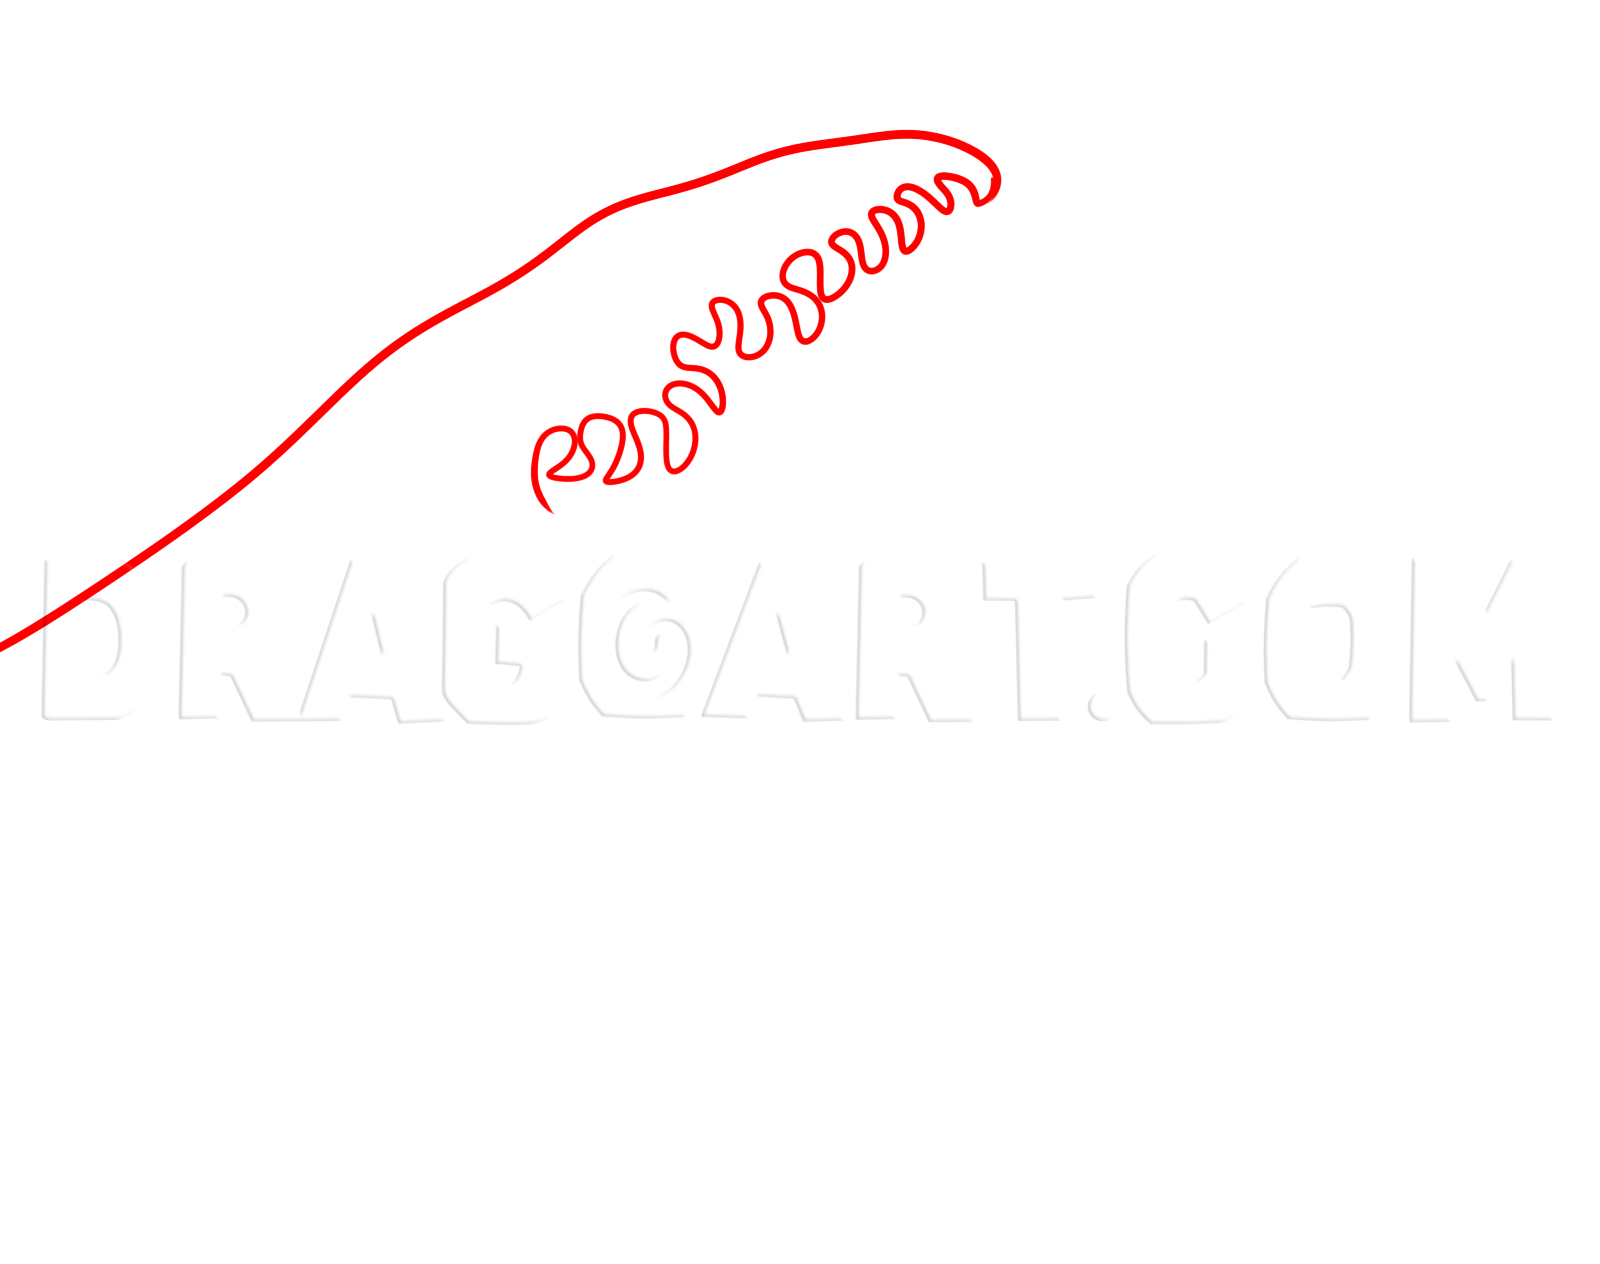
Start the drawing with the arch of the wave and some simple foam ends. This looks more like a cliff in this form.
2
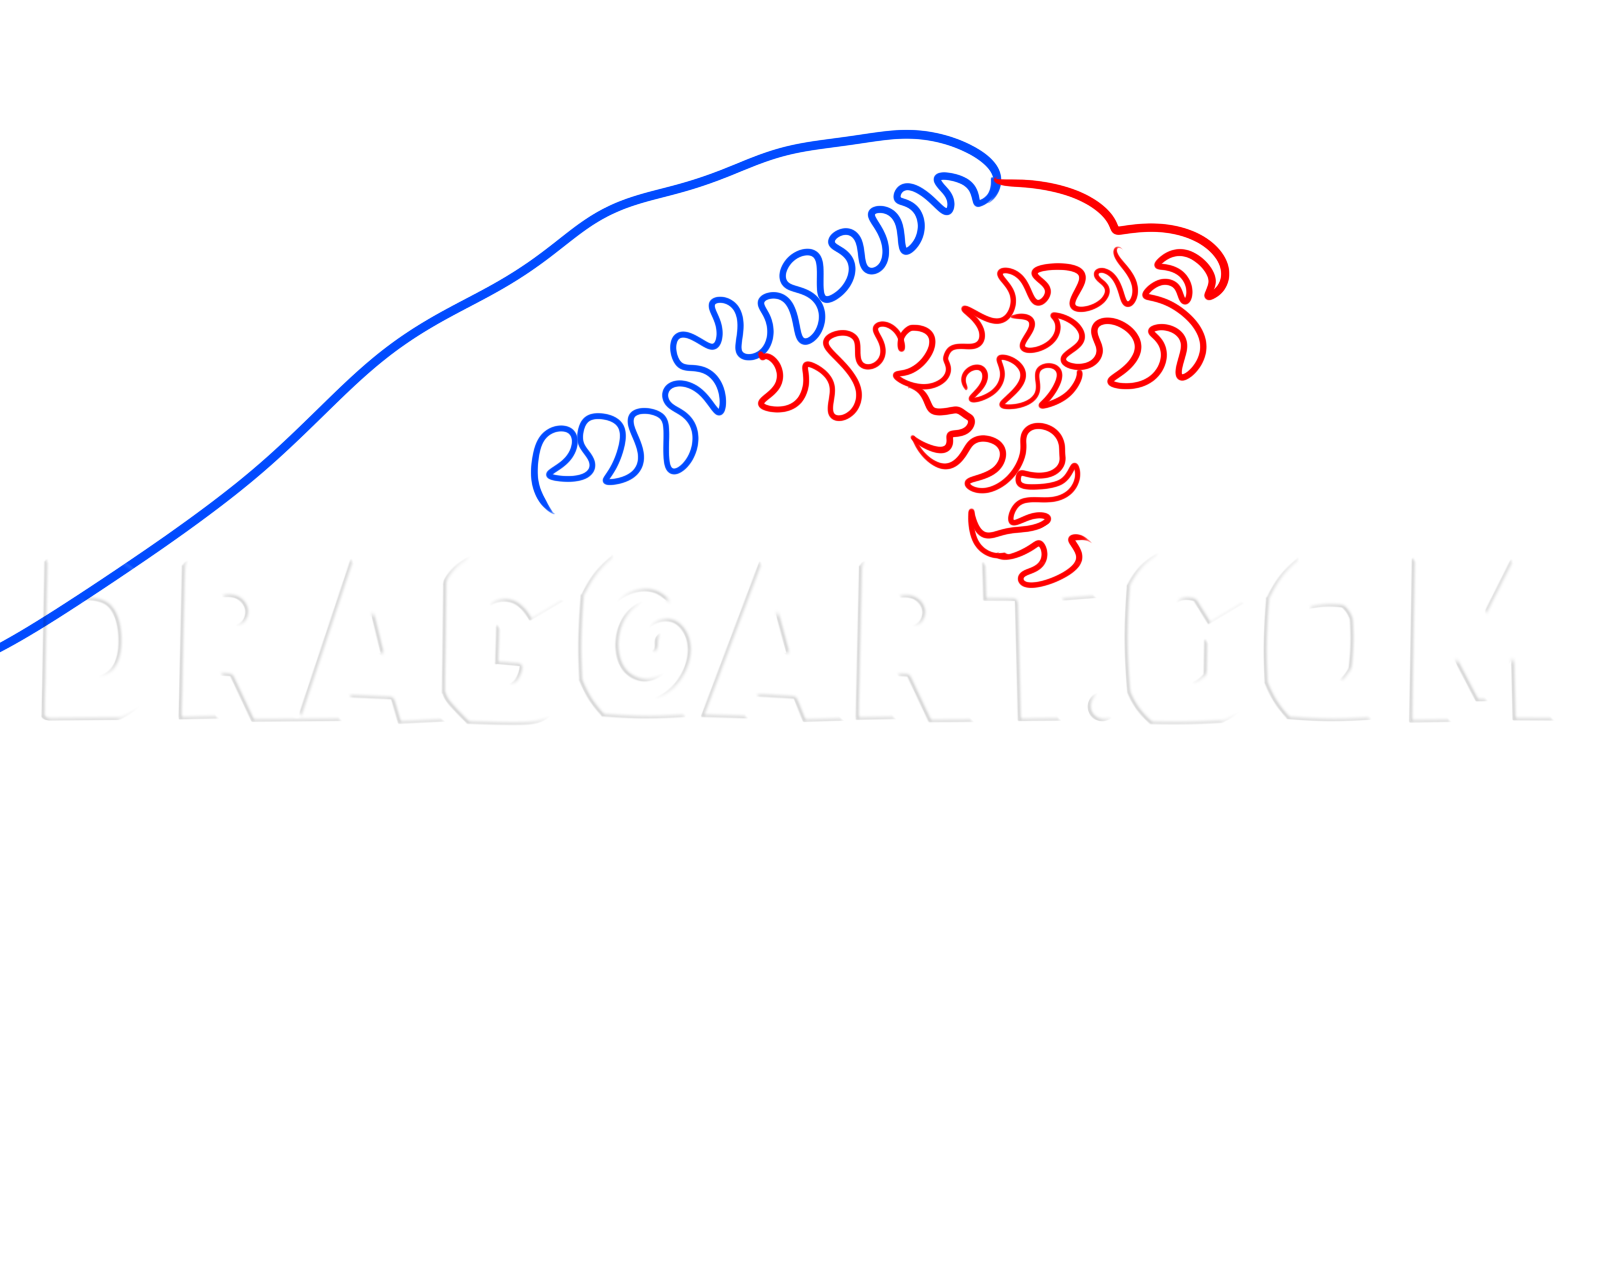
Up next, add another layer of foam to create another crest. The tops of waves are called crests.

3
sdf
4
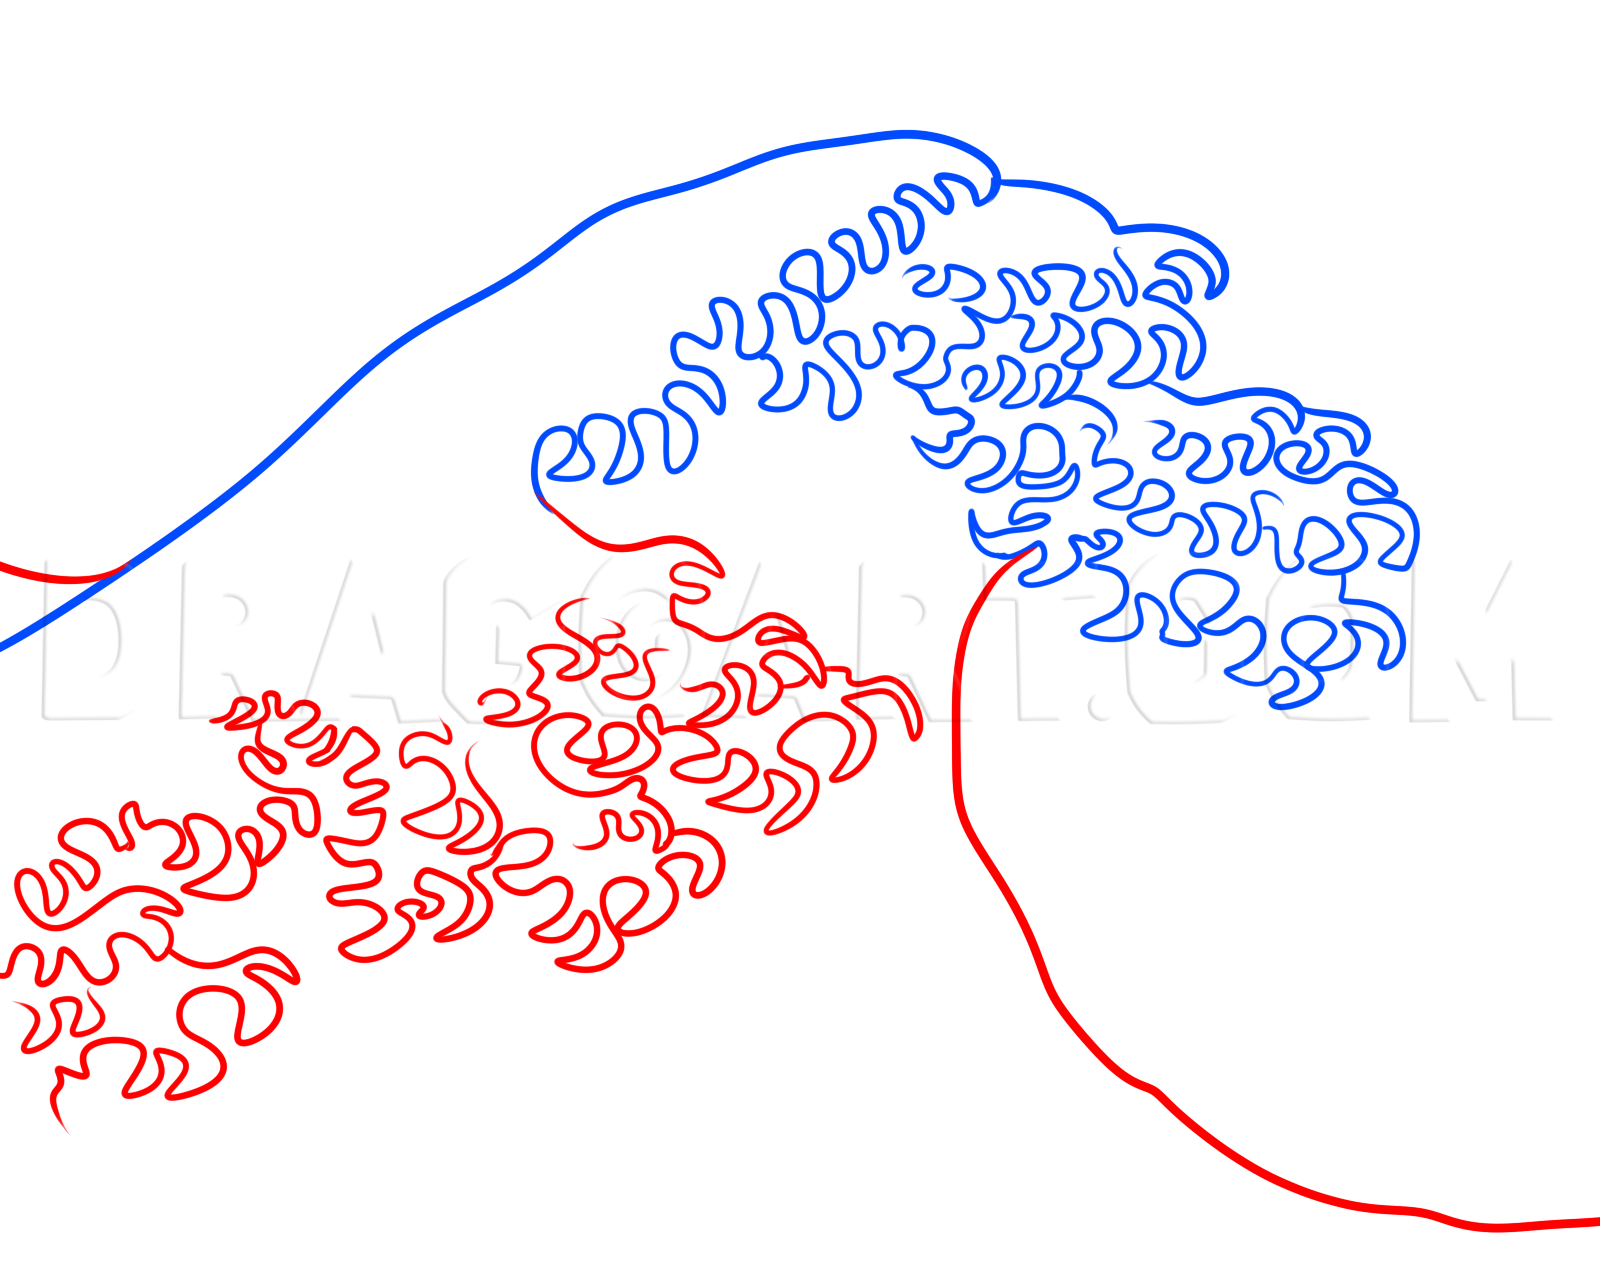
The lower parts of the wave should be drawn in next. Again, these are simple ripples that look more like crinkles.
5
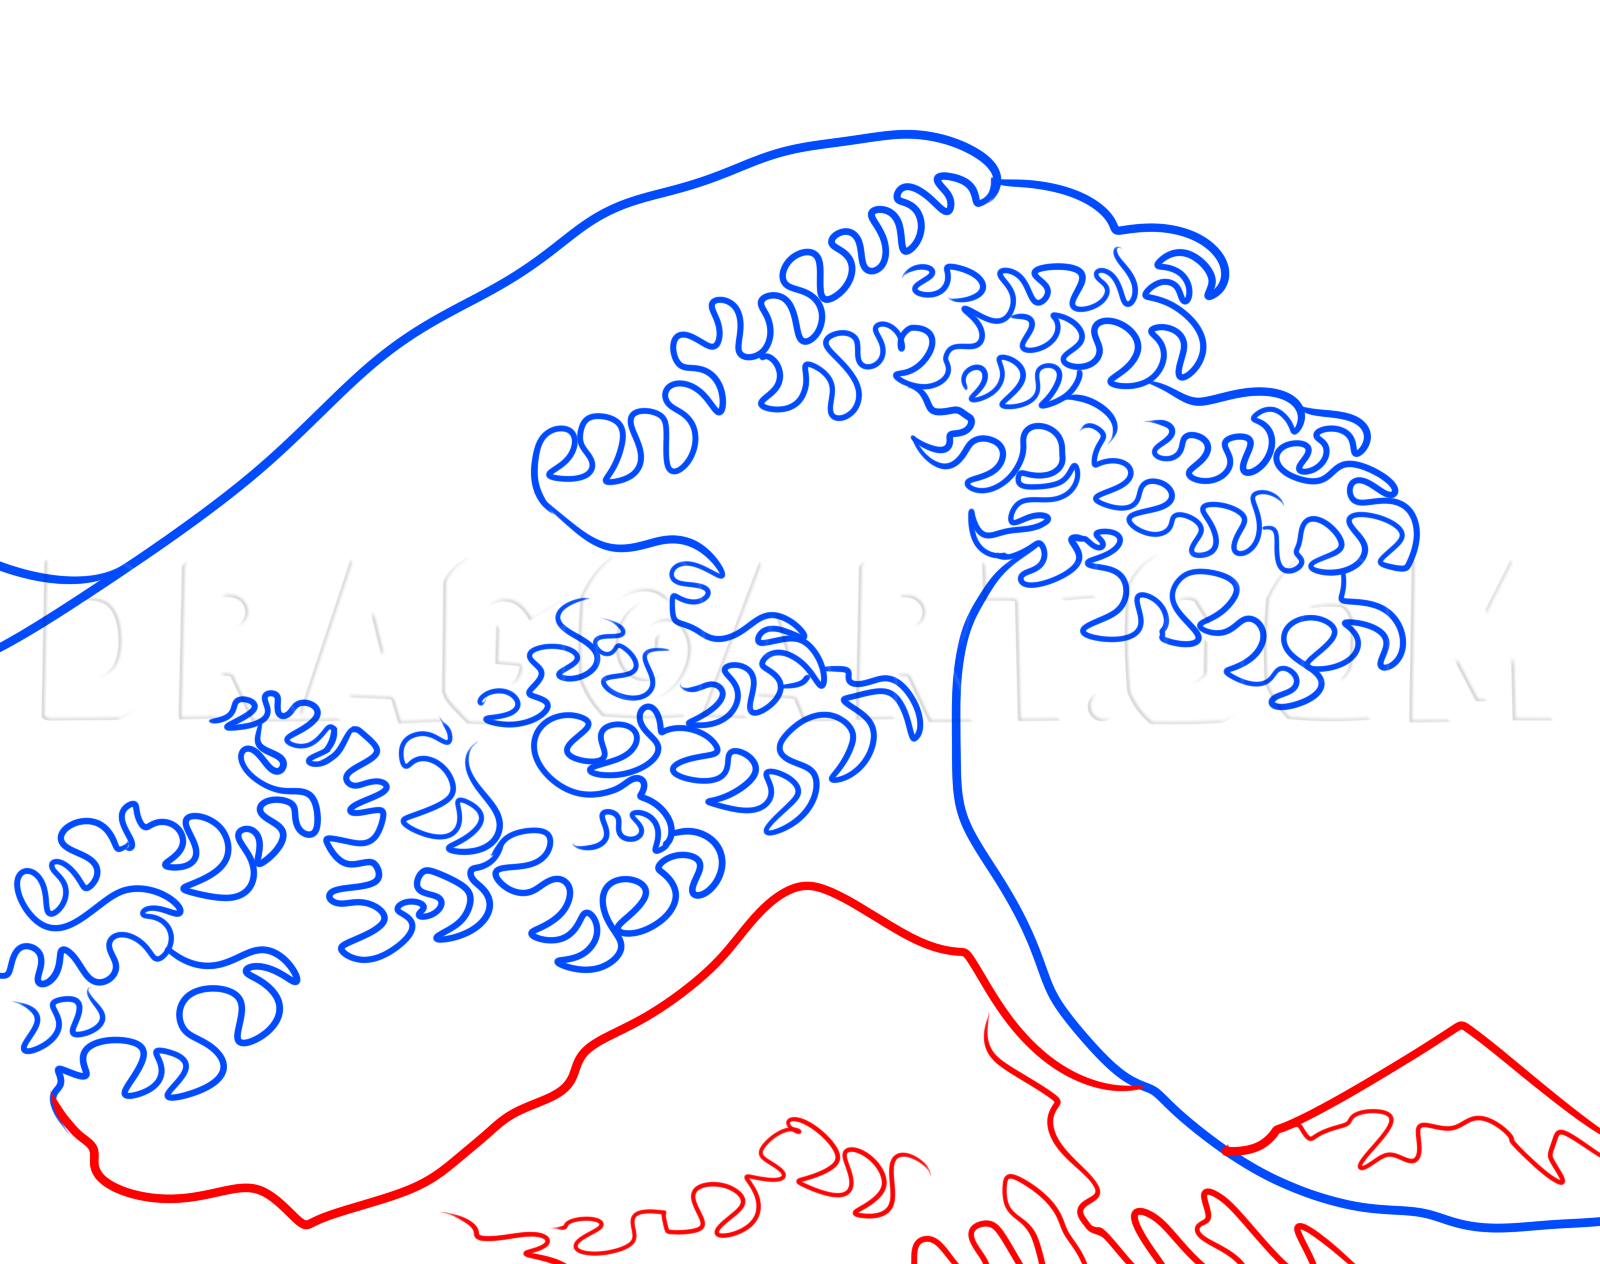
Draw Mt. Fiji to the right and then draw in the last layer of waves which is a lot shorter then the higher peaked waves. Finish off the drawing with the ends or shorter crests of the bottom waves. Erase whatever mistakes you might have made.

6
Here is the line art. Now you can color in your drawing of the Great Wave Off Kanagawa.
Comments 0
Details
May 17, 2016
Description: Here is a piece of art that I had fun drawing and turning into a lesson. It is a depiction of the original works of art by Japanese artist Hokusai. The title of this work is called 'The Great Wave Off Kanagawa and it was done around 1830 and 1833. A couple of things are missing from my art and that is the two boats filled with men trying to fight the wave. Some speculate that it is a tsunami, but in all reality it's thought to be a large wave or rouge wave. If you look closely at the drawing, you will see Mt. Fiji off to the right which is also something that is seen in the original work. I actually have a poster of The Great Wave off Kanagawa and I think it is a simple, yet beautiful art piece. I hope you enjoy this tut, I will be back in a few with more lessons for you all.


