How to Draw a Skull and Roses Tattoo


1
Begin by drawing the guide shape for the skull's head and face like so, then sketch in the facial detailing.

2
Next, define the shape of the skull's head and face structure like so, then proceed to step three.
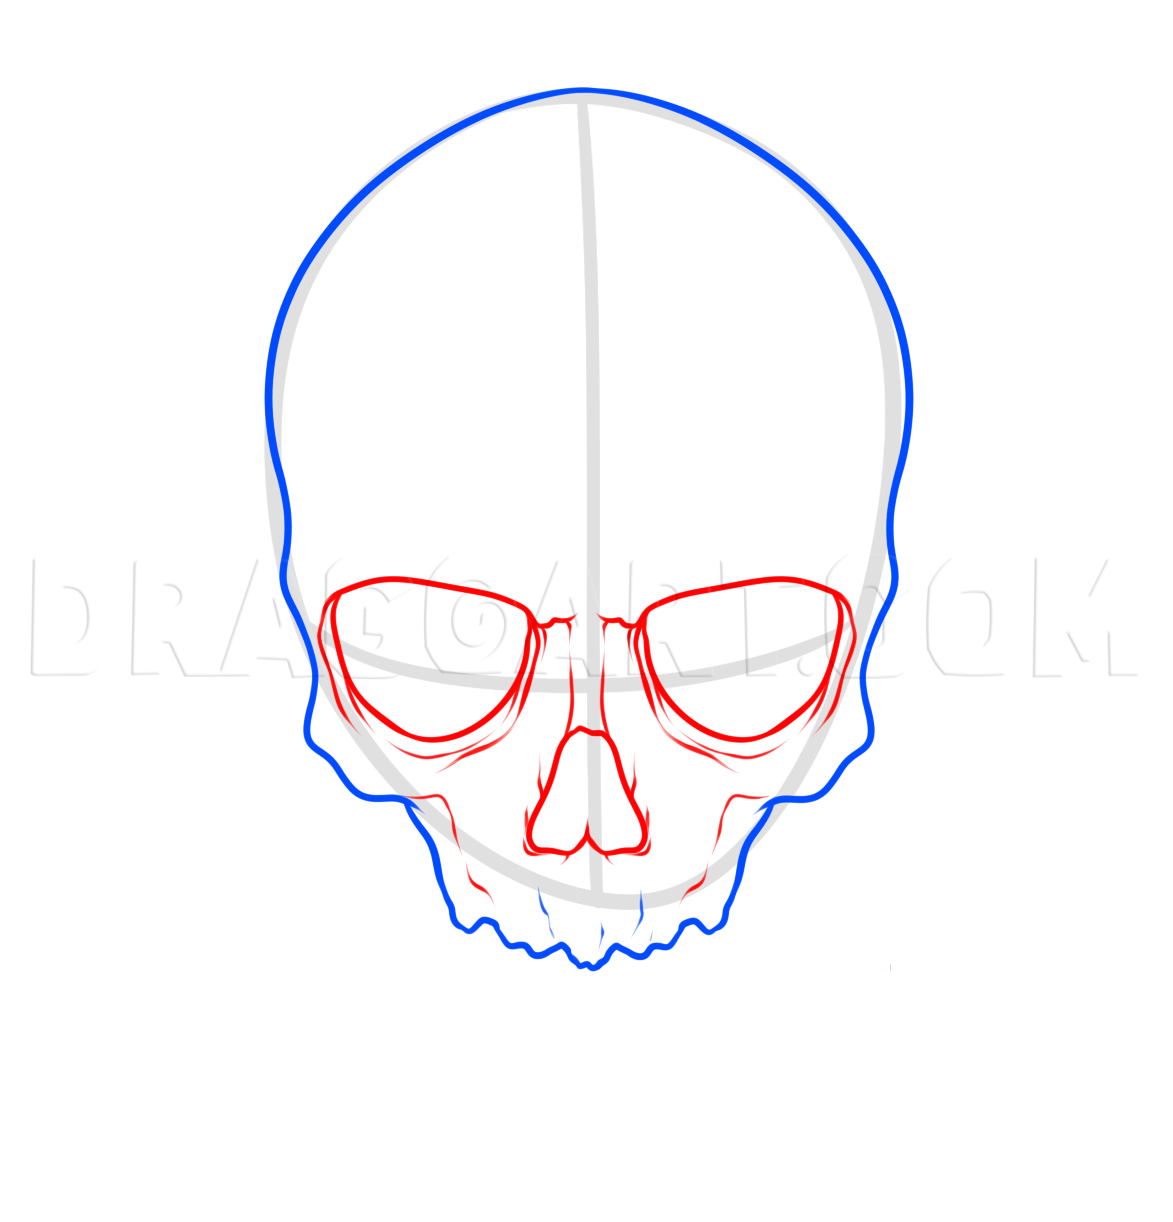
3
Take your time as you will start drawing the sockets for each hollow eye cavity. Sketch in the detailing between the eyes and under the eyes, as well as on the cheeks and around the nasal cavity.
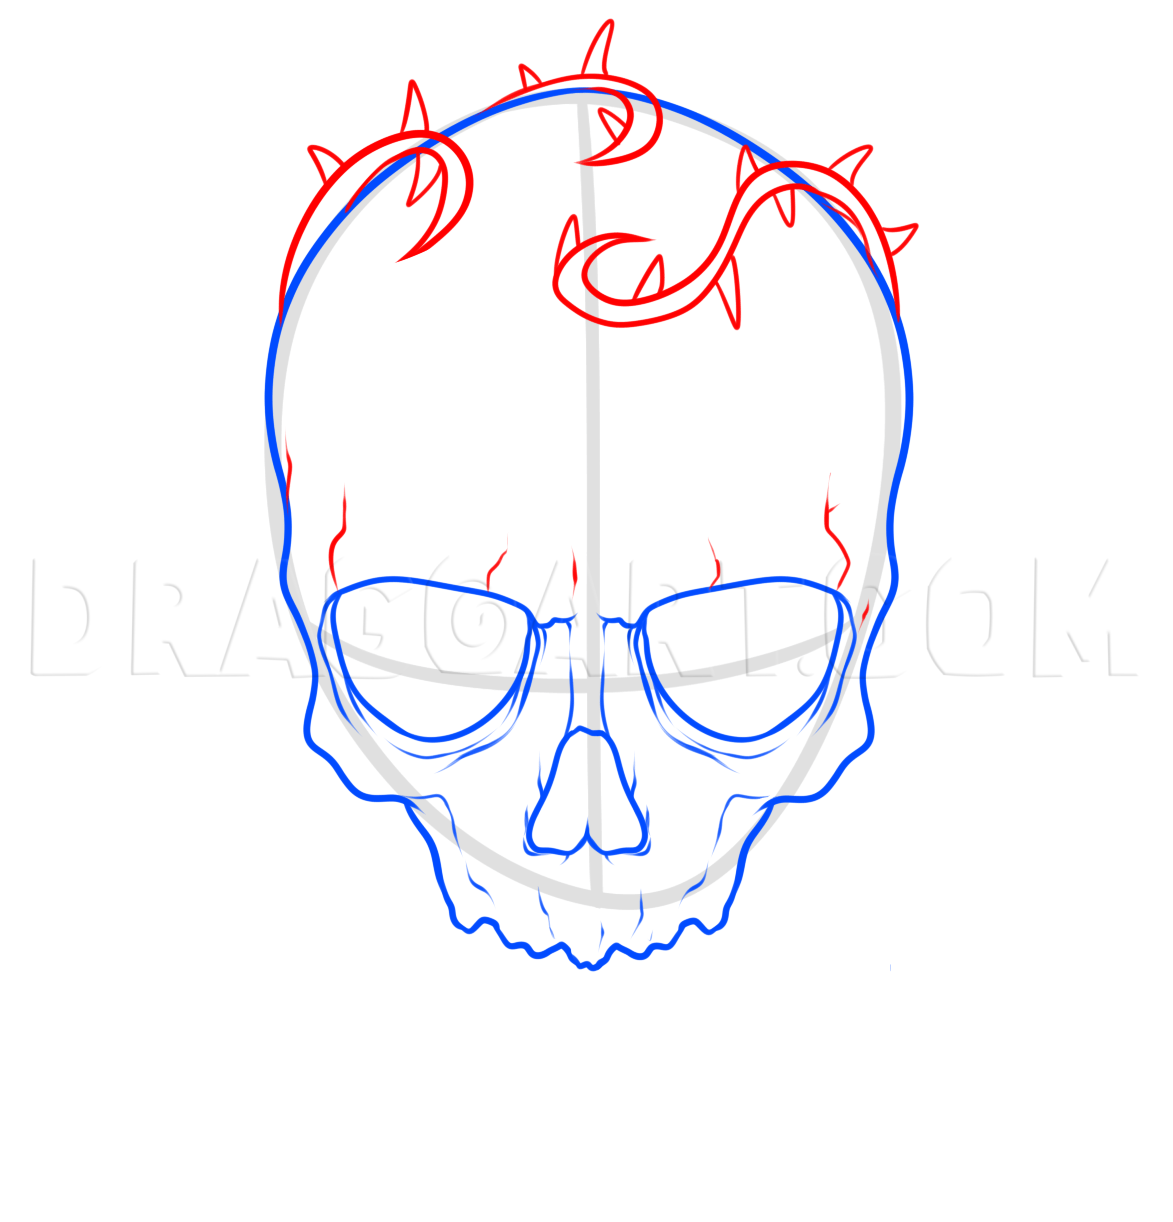
4
Up next, first sketch in the bone structure definition lines above the eye bone edges, then draw the curly vine along with the thorns.
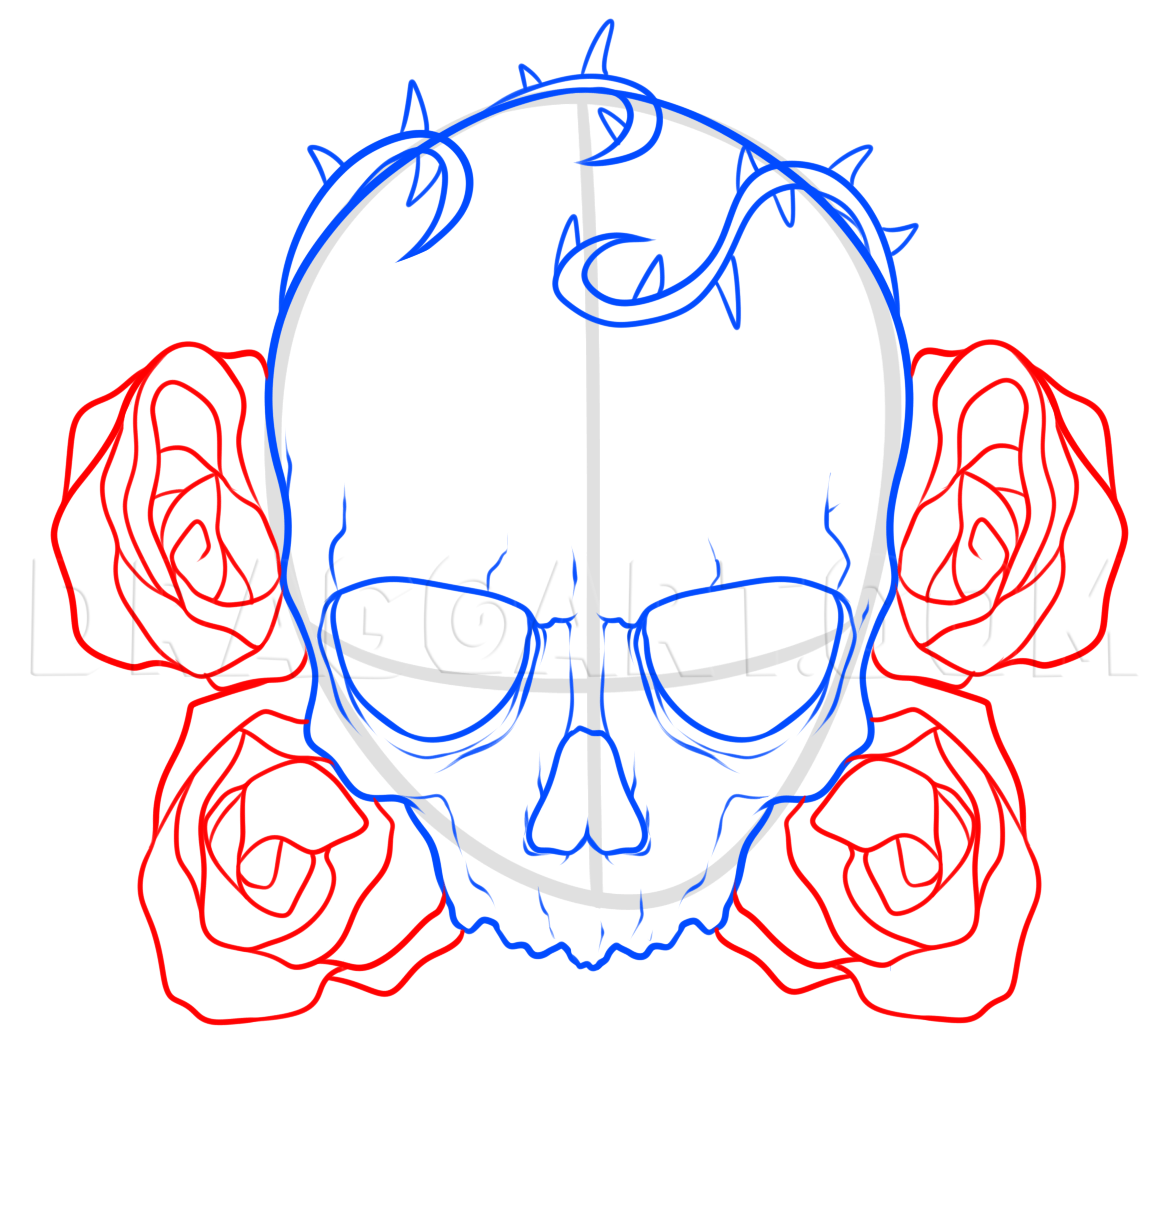
5
You will need to take your time as you will have to draw four flowers and they all need to be nicely detailed.

6
Lastly, draw the remaining two flowers and then some small leaves. Add detailing where needed and erase those mistakes and guidelines.
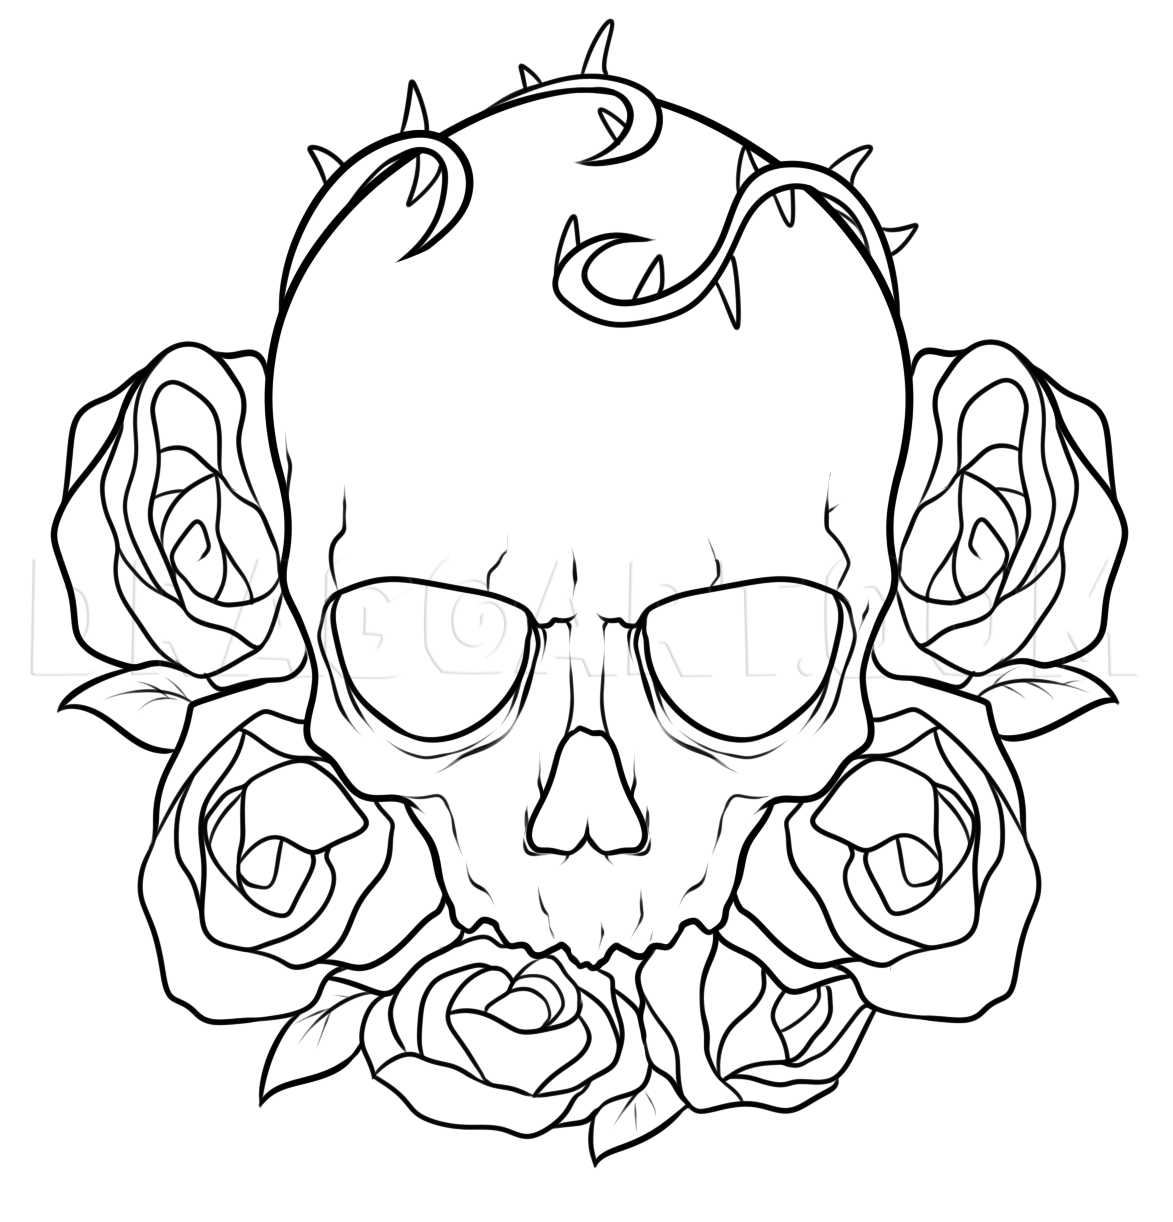
7
Here is the line art. Now you can add definition with shading, and then add some color if you like as well.
Comments 0
Details
April 28, 2015
Description: Here is a lesson that came out outstanding. The detailing along in the skull's face is both intense and confusing. Of course you too can get the same effect when you are done with the basic lesson and begin the process of shading, defining, enhances, and detailing. Here is a new tutorial on how to draw a skull and roses tattoo, step by step. I would so get this piece on the back of my shoulder. I know it's a little masculine, but the roses alone are very feminine. The thorns hug the skull's head like they are attached to it in a suction manner. The detailing I created with the coloring, almost makes the skull look it was sculpted from wood or maybe even marble. Drawing skulls and roses are always fun for me. I love the coolness of the concept and I think that others will fall in love with this tutorial as well.


