How to Draw a Dragon Body


1
Here's another interesting step I'd like to inform everyone about, since so many artists have issues with this. The arms should be a very important feature of the dragon's body to master. Observe how the un-flexed/relaxed arm is. Notice how there are

2
Now, look at the differences with a flexed arm, and how the muscles protrude and become pronounced. this is important, because dragons, like most four legged predators, have very muscular extremities in which require much strength to use (arms, legs,

3
Here is another super flexed arm that demonstrates how muscular a dragon's arm can be. If you draw a dragon that is slender, and it's habitat is living in marshy ponds and rivers, the dragon will probably have thin/lanky limbs since there is no need

4
Now, recalling back to when I said that the torso is the largest part of a dragon's body, here is why. Look at what's going on here with the wing and arm, how they are compressed within that small torso space. The arm wing itself is large enough to s

5
Here is a drawing of how the dragons look in a row as a life cycle state. As you can see detailing, definition and shading becomes more intense. Now let's move to the drawing steps to begin sketching out our dragon.

6
What's most important about drawing dragons breathing fire, is that you have to pay attention to the shape of the mouth. A closed mouth with have the lower jaw tucked beneath the upper jaw, like dinosaurs. It's better to base your dragons off past an
7
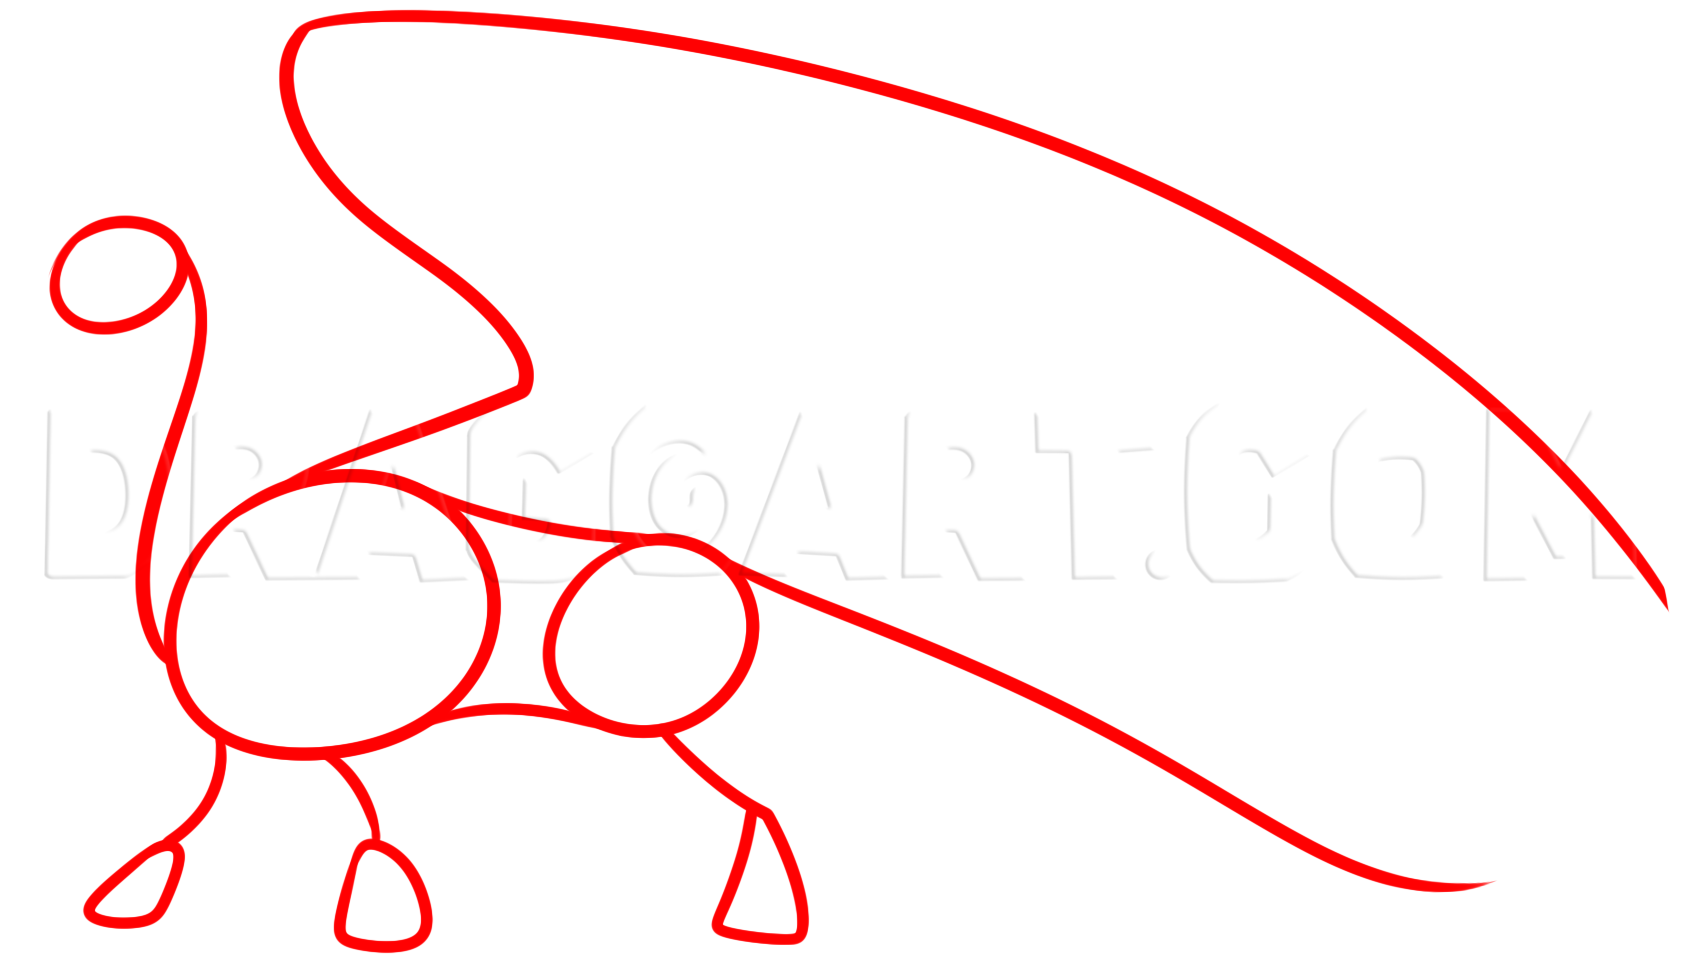
Let us begin this lesson by making some important guidelines and shapes which will eventually form the framework for your dragon that we will be drawing. Start with a head guide, then draw a long neck line that will connect to the torso shape. Draw i

8
We will begin drawing the shape or structure for the dragon's head. The top part of the head is like a plate. Draw the pointed frills and then add some grooves down the center of the head which is also known to be the forehead and muzzle.
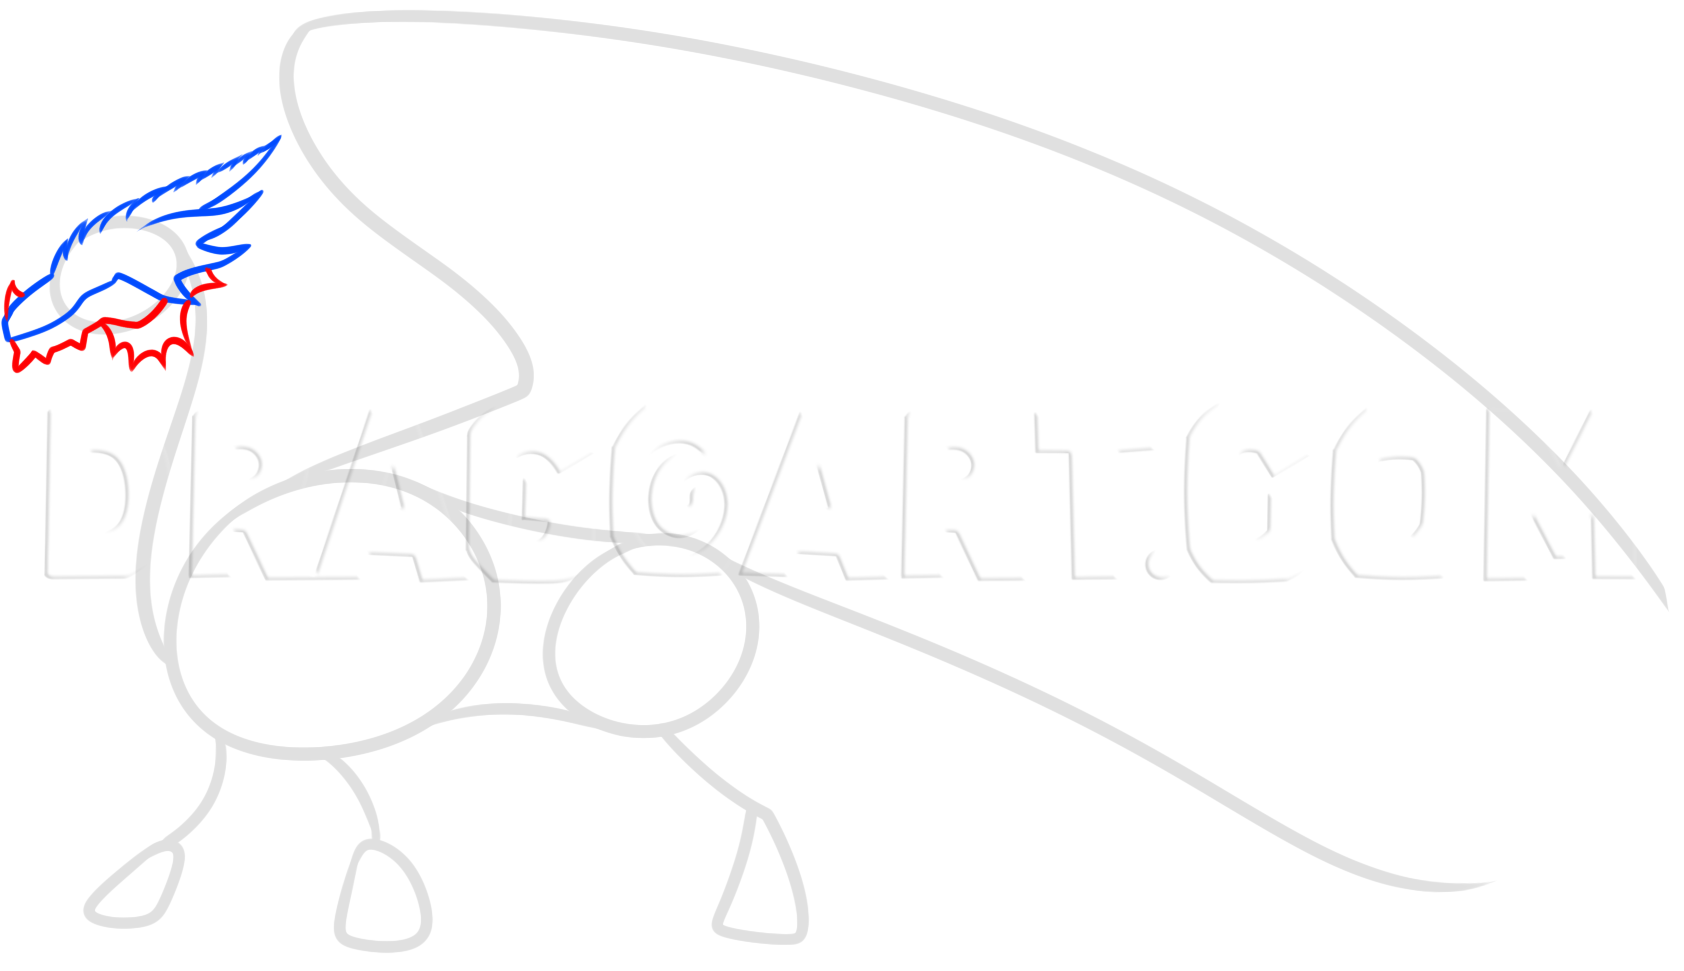
9
We will now carefully draw the bottom mandible. As you can see the edging of the lining is sharp and looks more like a rough pointed jaw. Add the small horn on the tip of the nose too.

10
Draw in your dragon's face starting with the eye. Color it in solid, then sketch in all of the detailing and definition that adds character and realism to your dragon.

11
Up next, we will draw the thick shape of your dragon's neck which also seems to bend. Sketch in some of the chest and then draw the shoulder.

12
Continue on with drawing your dragon's body. As you can see the first front leg is muscular but visually stubby as well. Draw the toes and then the detailing for the toned look.
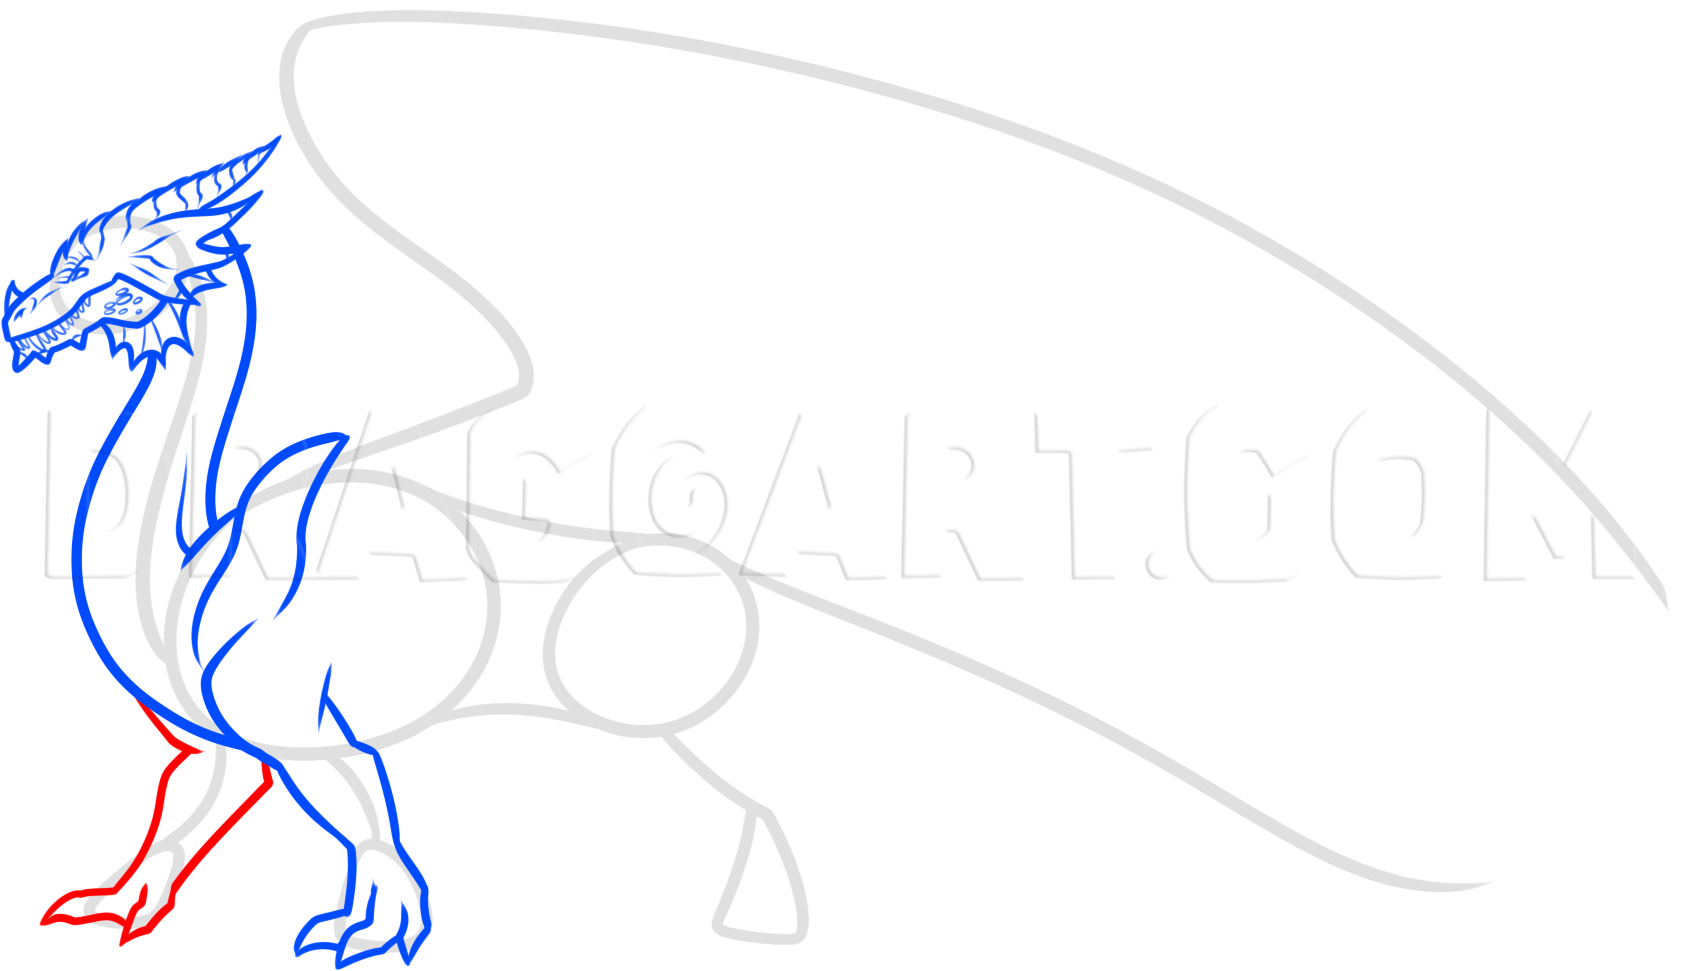
13
This is a simple step because all you have to do is draw in the other front leg and foot. Notice how this leg is in a motion pose because the dragon is being drawn to look like he is about to take a step or just got done taking a step and is now in a

14
Carefully draw the back, butt end and then the stomach and back leg. Don't forget to draw the foot as well as the toes. Very strong, sturdy look stance this dragon has.

15
Are you ready to draw the best part of a dragon's body? Good, then let's get started. You will begin by making the arm for the wing. Once that is done you can draw in the large or massive sized wing like you see here. The edging should be very rough

16
You will now just draw a simple looking tail which is stiff, still, long and sturdy.
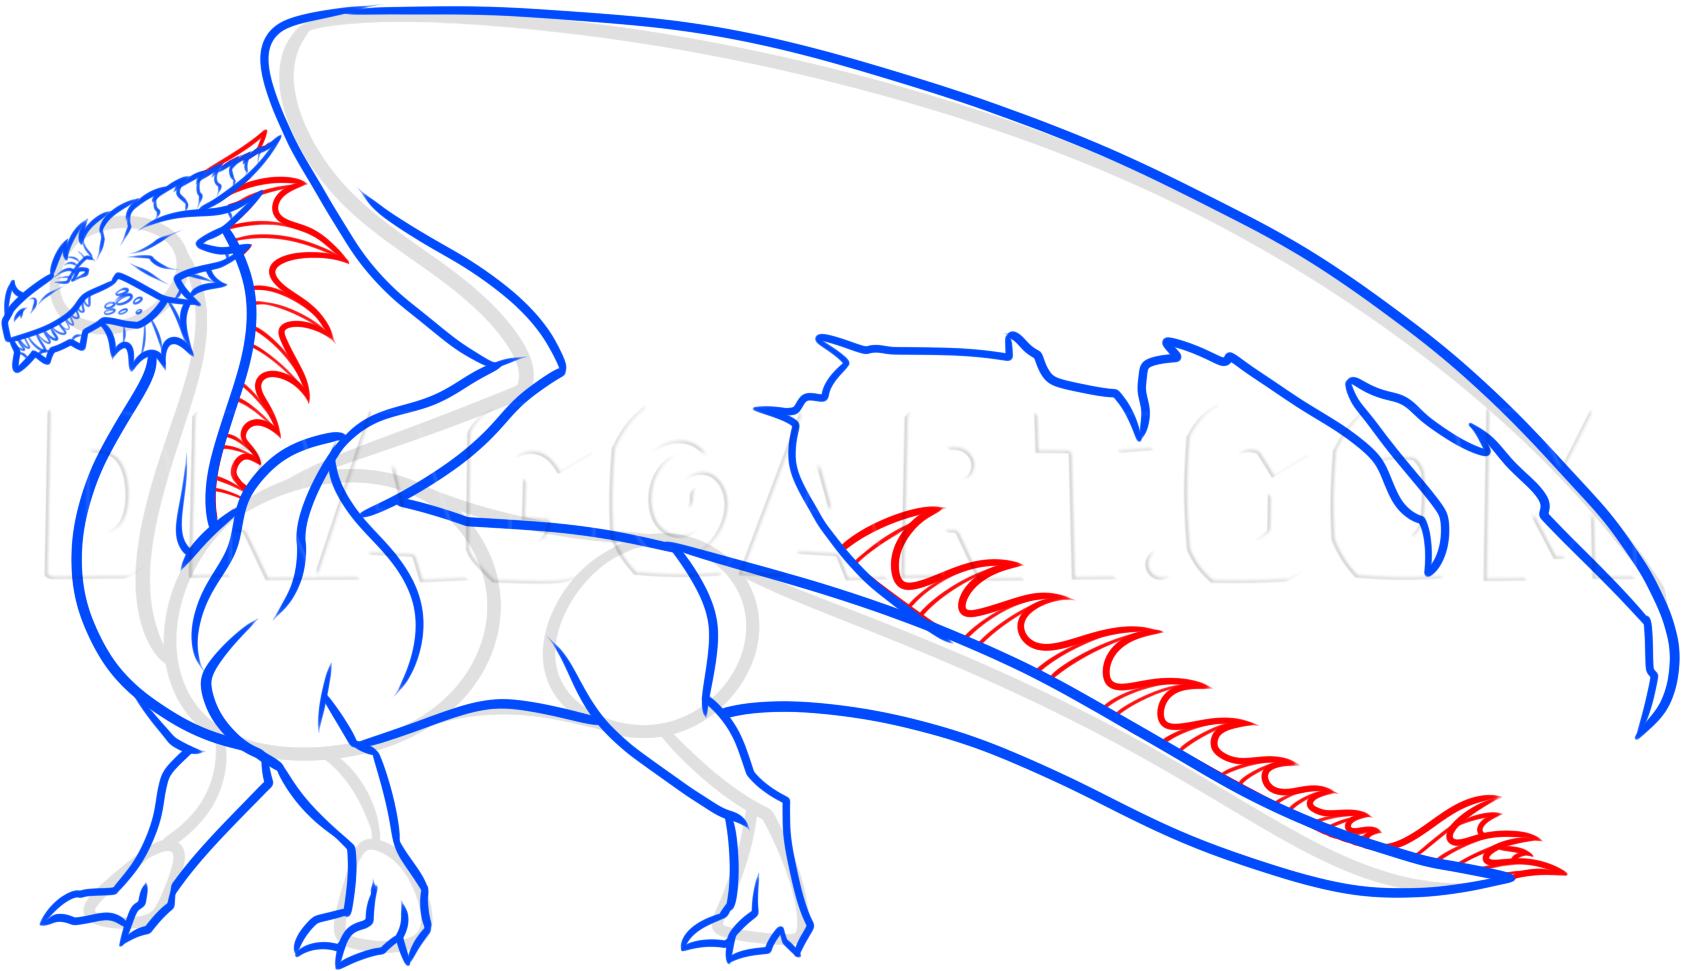
17
Draw the fin like frills down the middle of the tail. The further the frills or spikes go down the smaller they become. Then draw the same style frills on the back of the dragon's neck.
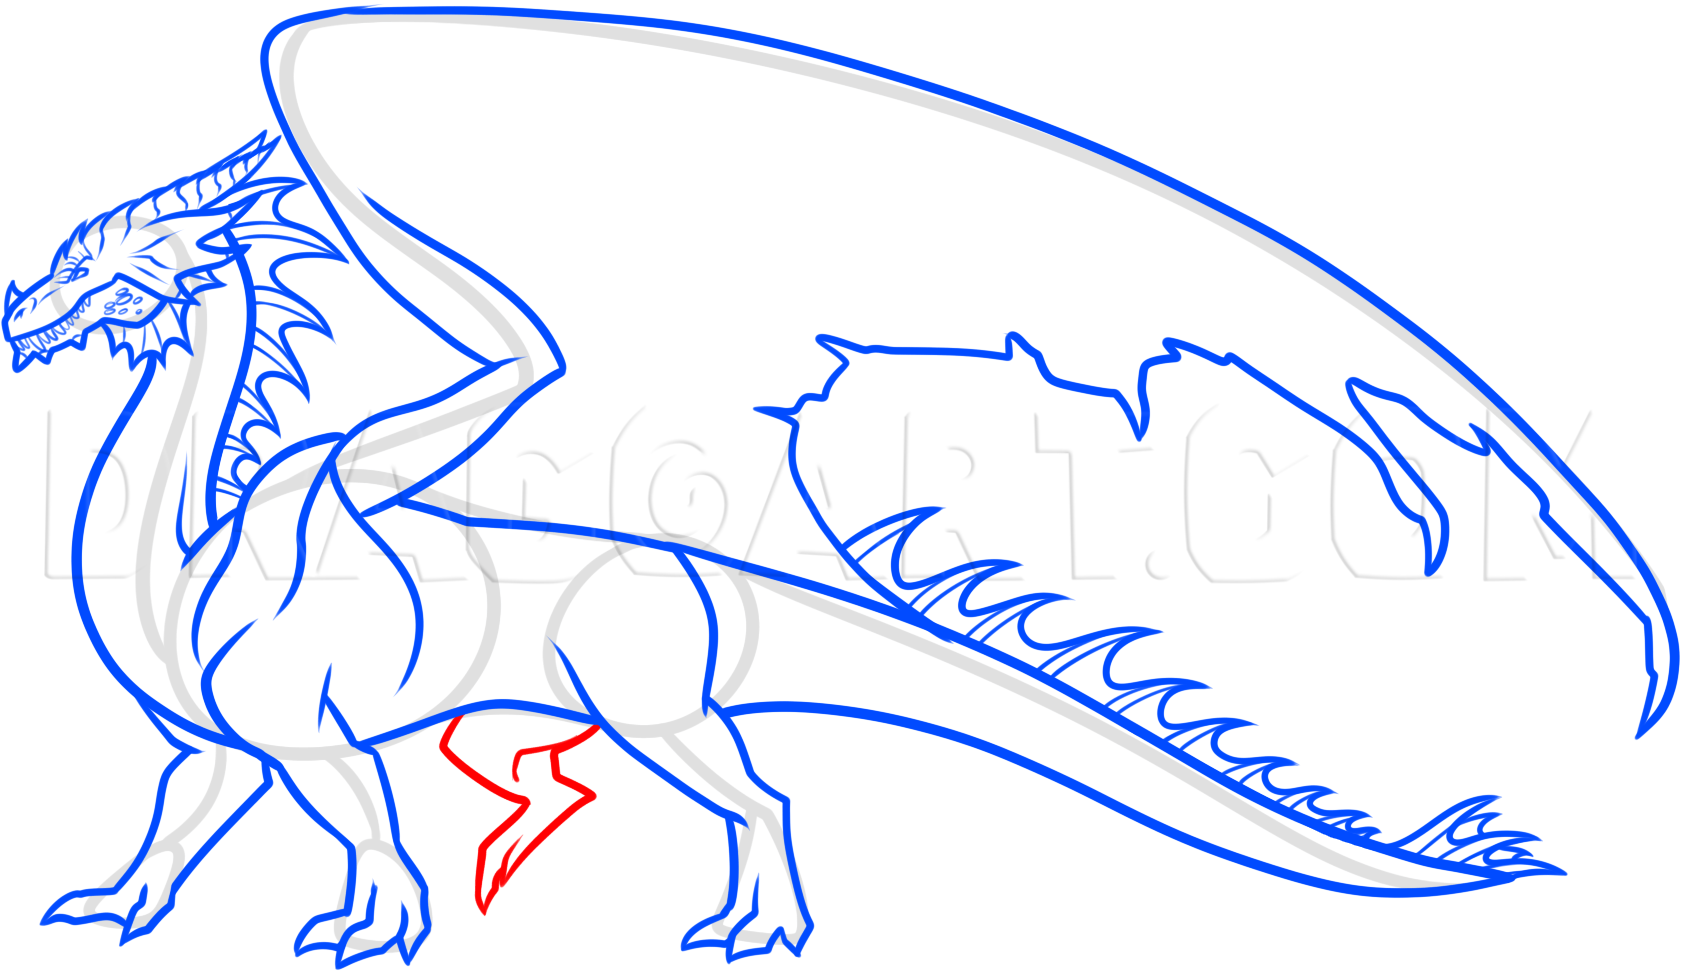
18
All you have to do here is draw the last leg which is lifted.

19
Begin the detailing process for your wing. This should include the lining that forms a hangover or a spooning look. Draw the small fingers at the top of the wing like so as well.

20
Before you start tackling the task of adding much needed detailing and definition to your dragon, erase your mistakes and guidelines/shapes that you made in the first step as well as throughout the tut. Once that is complete you can start the detaili

21
Here is the line art. You can enjoy the task of coloring in your dragon. Be sure to get creative and maybe add some texture detailing.
Comments 0
Details
April 2, 2017
Description: Hey guys, it's me again your friendly Dragoart neighbor and I am back once again with a very helpful lesson that will show you "how to draw a dragon body" once again. There are over two hundred and fifty lessons on all sorts of dragons so adding this one to the collection will be like adding ten cents to one million dollars. Anyways, you will see a hand full of helpful tip steps that will assist you in understanding the tasks to drawing a dragon's body. The dragon I made is red with tiger stripes and is very bold looking indeed. I love drawing dragons still and I always will. Whenever I get the chance to make a new tutorial based on a different looking dragon, I jump to the task. Thanks for joining me with another lesson. I will be back soon with more tutorial fun for you all.


