How to Draw a Sakura Tree Tattoo


1
Take your time as you tackle this first step. Begin drawing the tree starting with the crooked branches in a twisted manner.

2
You will then draw the rest of tree's limbs in the same manner you did the first ones you made.

3
Complete the formation of the tree and be sure to draw the roots as they spider away from the trunk.

4
Add the detailing to the Sakura tree's trunk which is the bark, then you are ready for step five.

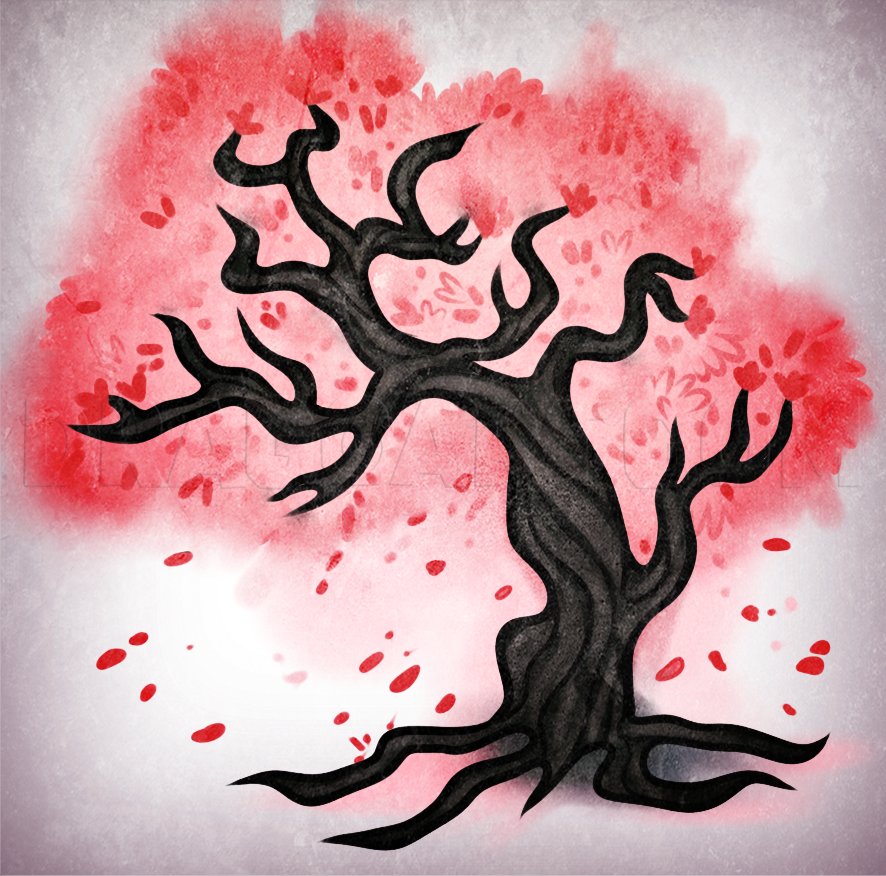
5
This is it, you are done. Sketch out the entire bush around the limbs. Add the fallen petals from the blooms and then erase all the mistakes.

6
You can now color in this drawing using some pretty pink shades. That's it you are all done.
Comments 0
Details
March 23, 2014
Description: This drawing ended up coming out really cool especially with the coloring job. When all was said and done, the drawing came out looking like a water colored image. To end the tutorial day here is "how to draw a Sakura tree tattoo", step by step. I was going to try and make a tribal design out of the Sakura tree, and I just may try and do that still. But for now I will give you this, a nicely drawn tree in celebration of Spring. Enjoy the tutorial and be sure to let others know that Spring has sprung and is coming undone. Adios amigos enjoy.


