How to Sketch Inuyasha


1
Sketch the circle with V shape. Also draw the lines for the shoulder and extended arms. Draw the lower parallel lines to InuYasha's knees. Now sketch the bisecting line for torso, all with your No.2 pencil. Please sketch lightly so you can erase late

2
The line shapes of his arm, sword and left leg facing you will help with perspective and placement. When you draw in the hand, knees, and foot shapes, that will give you mass and more accuracy in your sketch.

3
Sketch lightly his bangs, eyes and mouth. You may need to click on this picture to see it better.

4
Sketch in his hair lightly with the rest of his bangs. Remember his cute ears poking out at the top of his head. *sigh* It would be so much fun to pull on them like Kagome did in the first episode.

5
Take your time with his robe-like sleeves. His jacket top is called a kariginu. Try drawing in the decorative cord too. Don't forget his hand and sword.

6
Hah! I don't know what to call those cute sideburns, which look like scythes. Go ahead and sketch them in with his collar, beads, and ribbon strap, I think that ties his sword to him. Tell me if I'm wrong.

7
Now draw in his other sleeve, hand, and the tattered hilt of his sword.

8
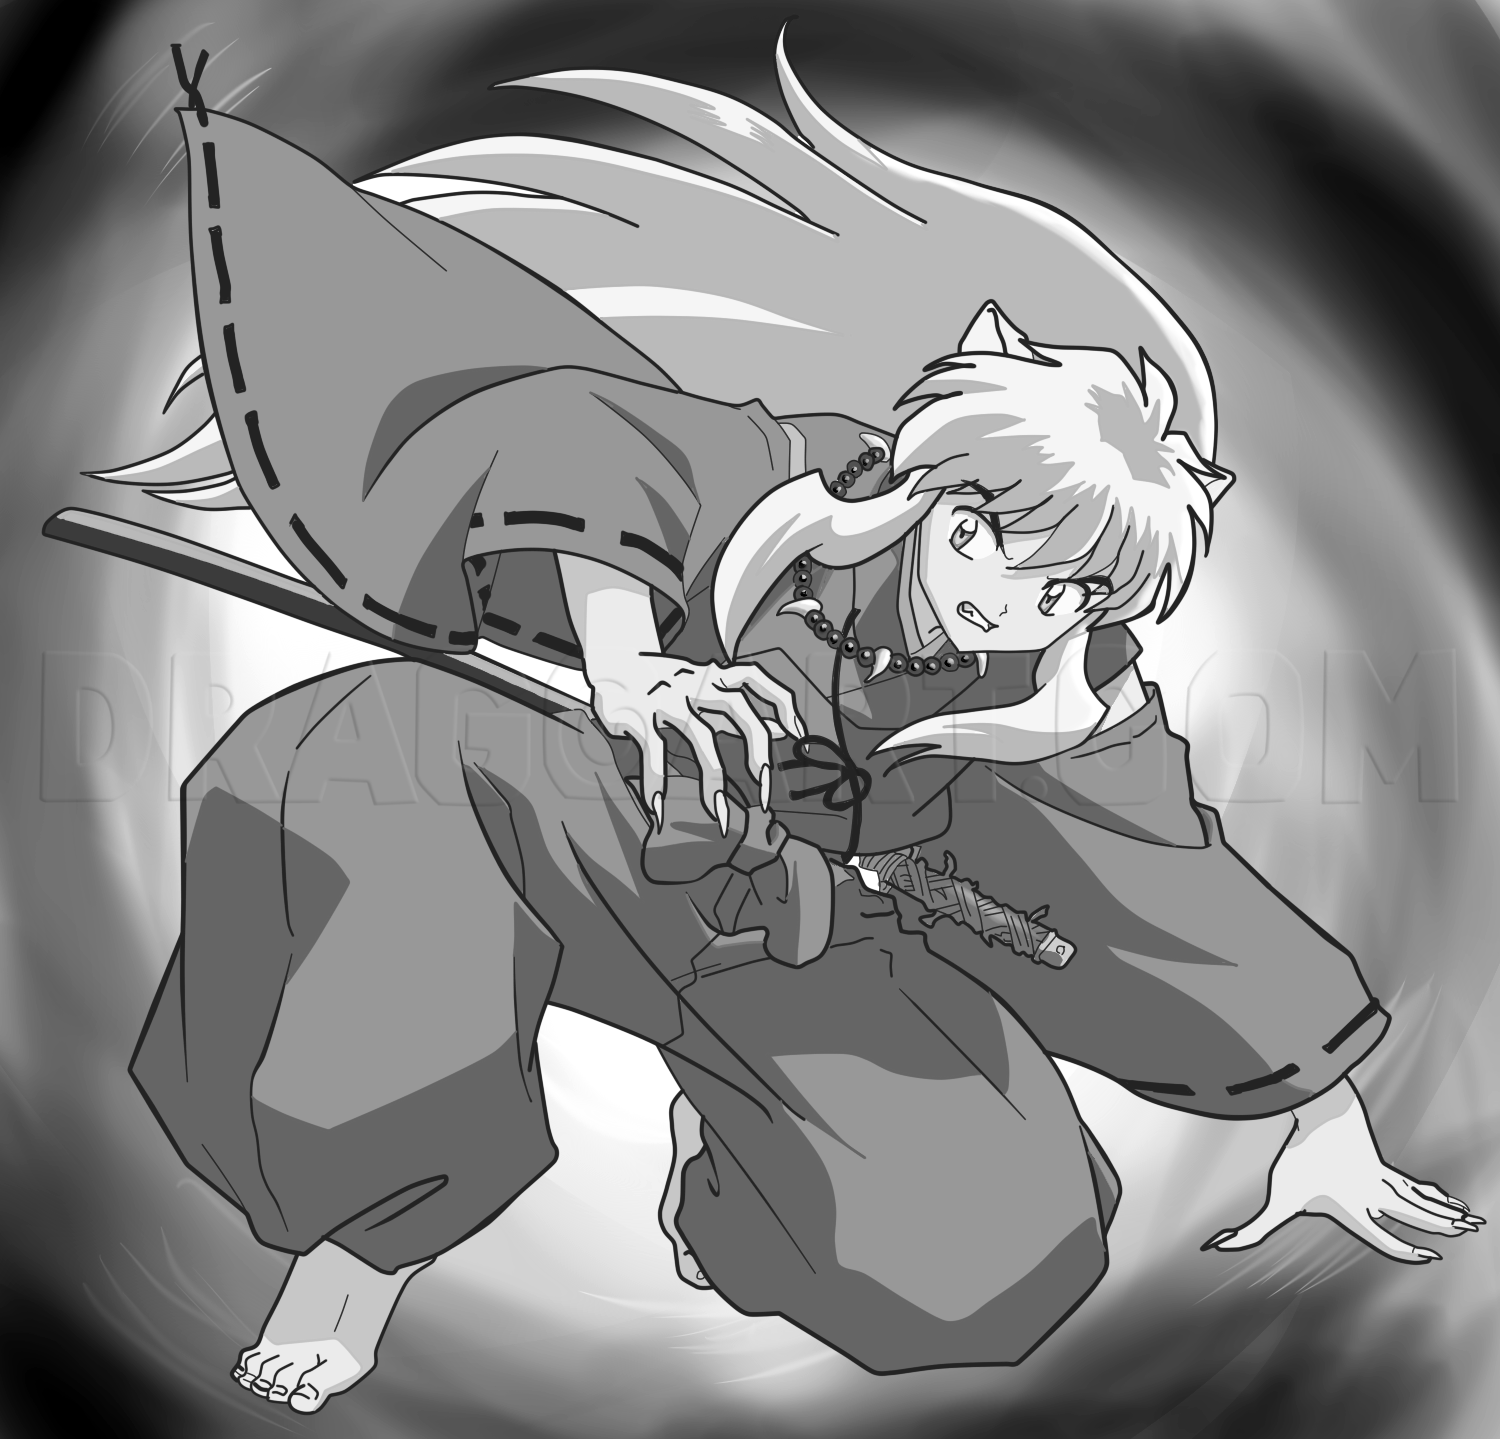
Last but not least, sketch in InuYasha's legs. Seriously, I love this feudal era costume. He has a bow that is his belt called an obi. Also those trousers called hakama that balloon and cuff at his ankles are gorgeous. Don't forget his feet. Now you

9
Your drawing may look like this or you might have your own version. At this point, you can color in your picture with a medium of your choice.

10
Here is the color combination of InuYasha. Following this step are tips on sketching/drawing InuYasha (translated in Japanese means "Dog-Demon"). Let us continue to the pencil drawing part.

11
I didn't want to skip this. The first picture shows how to hold your pencil for Overhand (great for writing & details) and Underhand (great for shading large areas in wide strokes). You can practice tone shading and take it a step further with the To

12
Here is how the tools look. I used the 0.7mm 2B mechanical pencil, 9B pencil, tissue, and the blending stump.

13
Here is the outline done with a 0.7mm mechanical pencil. Look closely and see if your lines look something like this. You can erase if certain areas like the hair spikes or hand & sword don't line up. Shading transition from dark to light (or visa ve

14
I shaded his skin, hair and lighter part of his sleeves and pants with the 0.7mm mechanical pencil. You can use your No.2 pencil (or HB) also. I sketched in the shading the parts of his sleeves, top and pants with my 9B graphite pencil. Looking caref

15
I blended his skin, outfit, and hair with a tissue. I added more darkness to the shadows in his outfit and blended with a tortillon. You can tell the difference at how much darker and a bit smoother the picture is. Use the kneaded eraser to clean his
16
This is a black and white version of my digital drawing. I added background to spuce it up. You can add highlights to your drawing with titanium white, white pastels or even work hard with a kneaded eraser. The next steps feature some drawings of Inu

17
1. Sketch the guidelines. 2. Now sketch in his human face, hair, and shoulders. 3. Gives you a better view. 4. The sketch advances with more hair shine and beginning beads. 5. Shade in everything but hair. 6. Blend in face, jacket, and beads. You can

18
Once you've filled in the hair, shade with a tortillon or blending stump. The white hair areas will turn a medium gray. You can add more darkness to the beads with a 9B graphite pencil. Also darken his eyes and blend.

19
I added white to the white of his eyes and catch lights. Then I added highlights to the beads and added background. I also his face, jacket and my digital program.

20
1. Sketch lightly the guidelines. 2. Now sketch in the outline. 3. Here's the pencil outline version. 4. Sketch in the shading. Use a No.2 Pencil for his face and hair. When doing his eyes and shoulder, sketch darker with your No.2 or even crosshatch

21
I couldn't resist digitally adding a background, blurring, and adding white to my picture. If you're unable to do that, clean up with a kneaded eraser or use white pastels or white titanium acrylics or watercolor to your pic. Now the streaks may show

22
1. Sketch guidelines lightly. 2. Now do the outline. 3. Here is how the guidelines look in pencil. 4. Sketch lightly his face and hair. Now sketch his garment darker with your No.2 pencil. You can sketch in the shadows with a 9B graphite pencil or go

23
I digitally added a background, blurred, and added white to my picture. If you're unable to do that, clean up with a kneaded eraser or use white pastels or white titanium acrylics or watercolor to your pic. I hope you enjoyed this tutorial on How to
Comments 0
Details
April 12, 2013
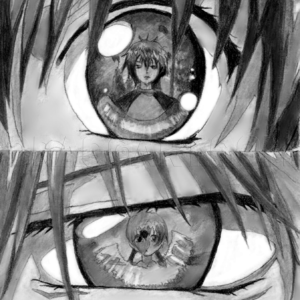
Description: Inuyasha in full human, demon, figure, and action form is finally here to sketch in pencil. It is amazing how this one anime made me laugh, cry, care, and swoon. I hated this anime to end (and it's about 190 plus episodes). I watched all 4 movies and was royally entertained. This InuYasha character is half human and half demon. On the full moon he turns to full human, stripped of his powers. But once the sun rises, he's back to his old self. When he is separated from his sword Tetsusaiga or near death, he turns to full demon, which isn't good because he loses himself to blood lust, hating humans, and the need to kill. In this tutorial, I wanted to feature those elements for you to sketch in pencil. I hope you enjoy this tutorial. Please let me know how you feel about it by commenting, faving or clicking on "Love It." Thanks sooo much!