How to Draw Winter Trees, Winter Trees


1
Make two vertical lines like you see here and then proceed on.

2
Draw the first pine tree by making a triangular shape, and then from under, make another teir of branches and leaves. Don't forget to draw in the thick piles of snow.
3
Draw another tier like so, and then add more snow.

4
Finish drawing out the tree, and then add the last of the snow. When you are all done, move to step five for another step of fun.

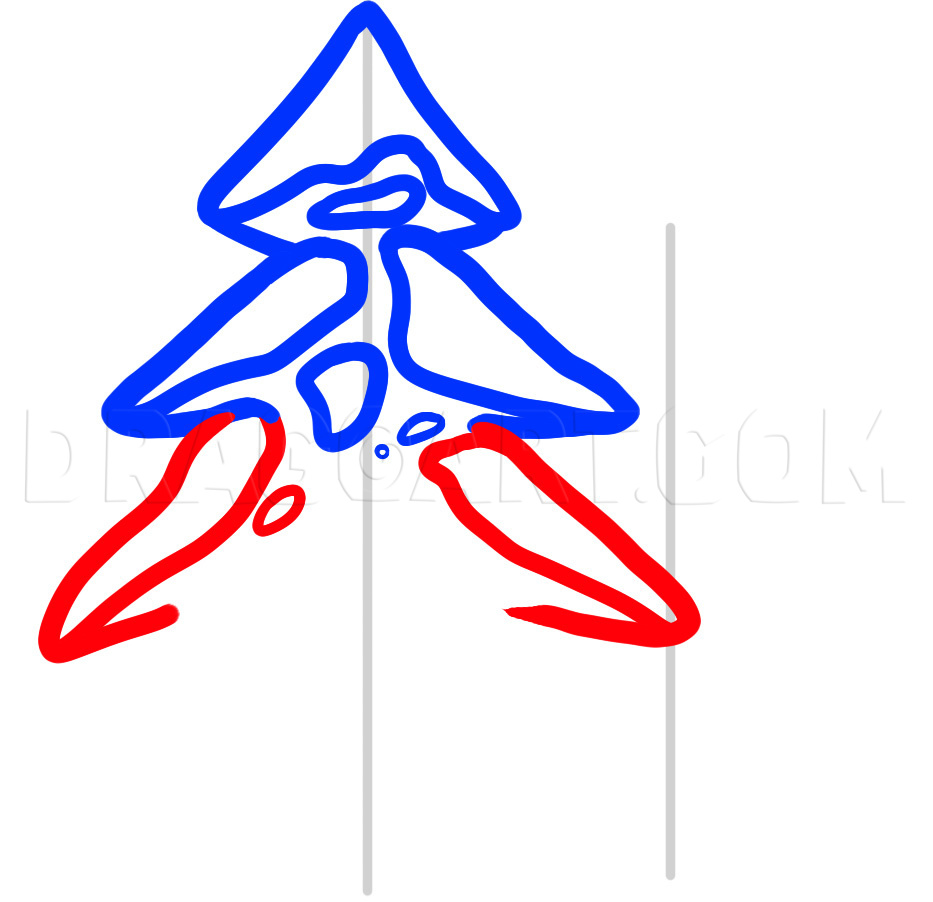
5
Draw almost the entire shape of the second tree like so, and then sketch in the snow which is covering a huge chunk of green.

6
Finish what you started in step five, and then clean up the drawing freeing it from mistakes and guides.
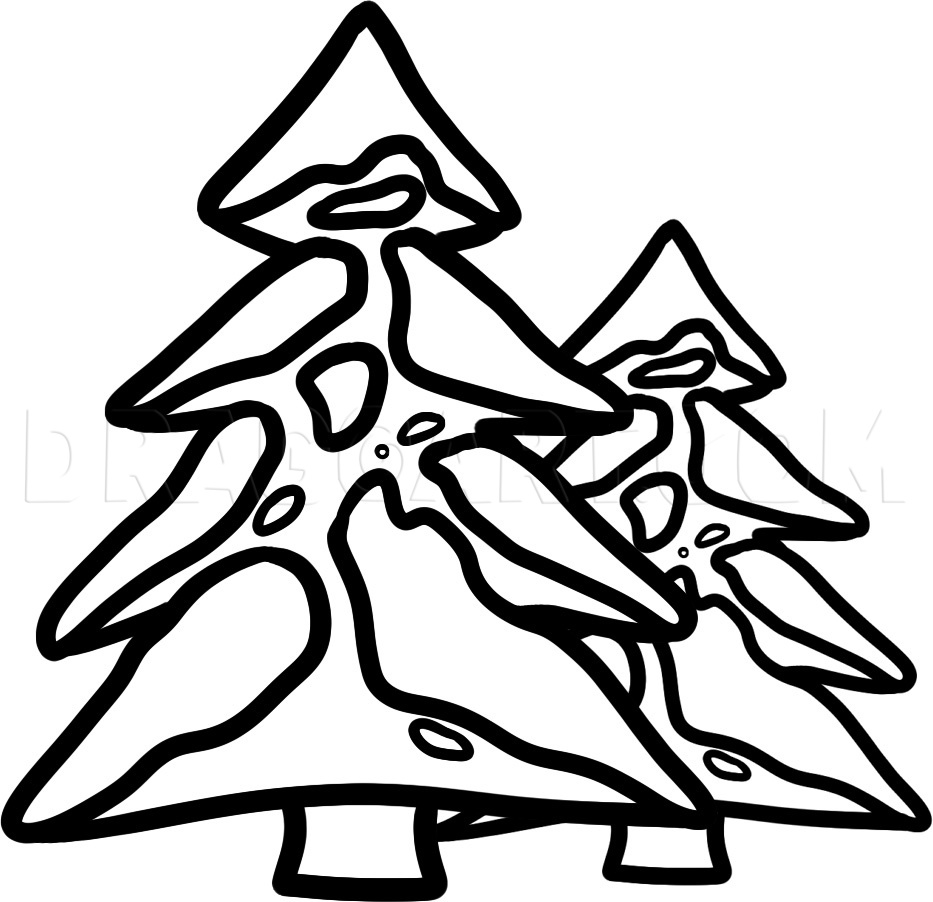
7
Look how awesome your trees look like now that you are done. Color them in, or make a background first. Thanks for joining me for another session of drawing fun.
Comments 0
Details
November 10, 2011
Description: I just had to go ahead and make a lesson on "how to draw winter trees", step by step. The winter tree I submitted yesterday isn’t what I think folks think of when they hear the words ‘winter trees’. I think a majority of the people expect to see some wintry looking snow covered pines in a snowy setting. That is what I have for you today, two pine trees covered in some white fluffy snow. The overall tutorial complexity is going to be minimal because I made sure to create trees that are easy to draw. So go ahead and have fun as you start drawing winter trees. Remember to add your own creative background to match the trees you just drew. Well, thanks for joining me today folks, I will be back in a bit so have fun as you wait.


