How to Draw a Roaring Tiger


1
Start out by picking your pencils. I used an HB pencil for sketching/shading, a B pencil for dark lines/shading, and an H pencil for fur shading and light lines.

2
Start out with a basic sketch of the tiger head. Use guidelines if you need them

3
Your sketch should end up looking something like this.

4
Start sketching in the stripes starting at the forehead.
5
Sketch in the rest of the face stripes.

6
Sketch in the teeth and the "sideburns."

7
Use an HB pencil and a cloth or paper towel to roughly shade and blend over the drawing

8
Erase the highlights of the drawing including the whiskers.

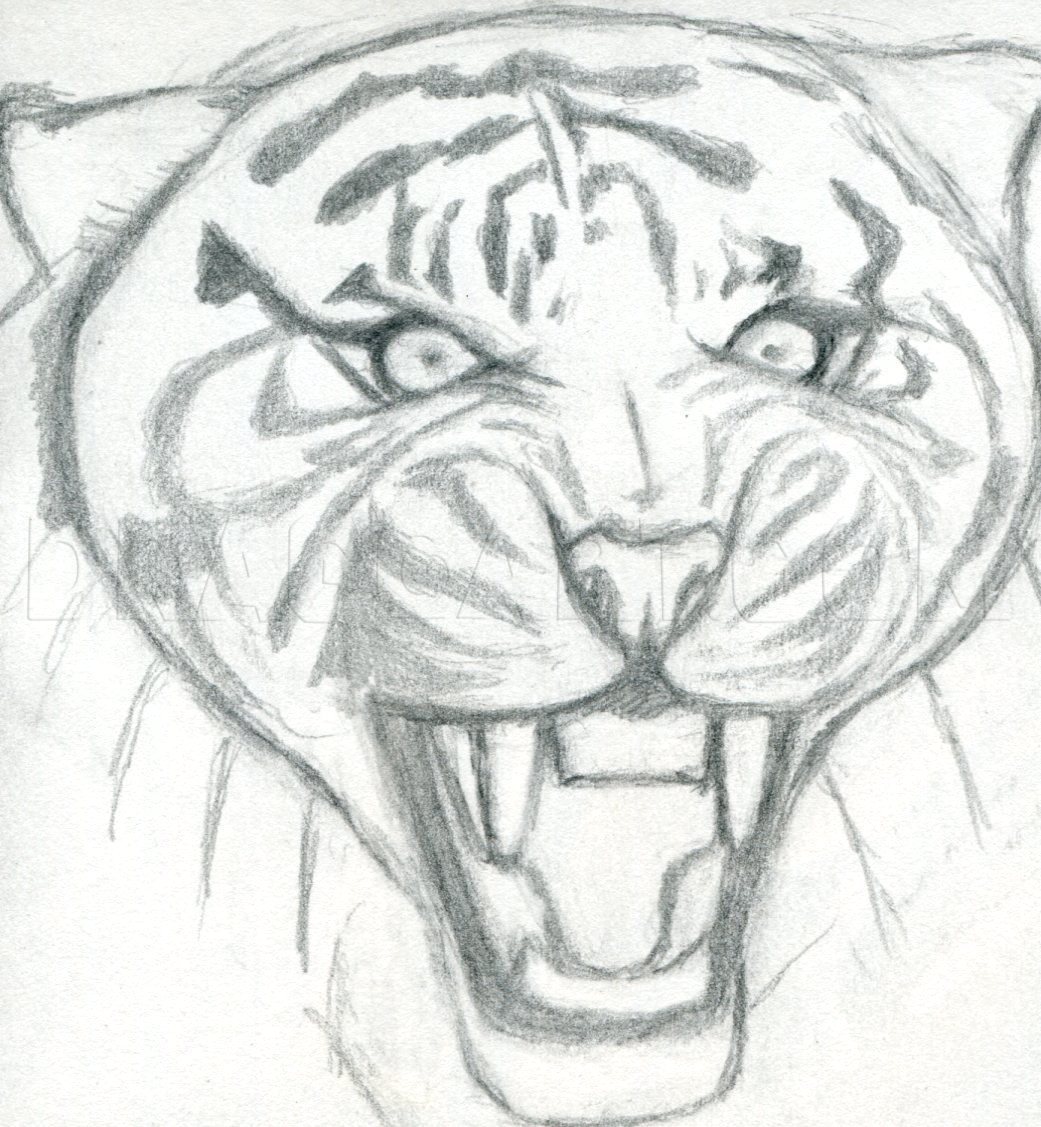
9
Start your details at the eyes. Use a B pencil to shade in the dark stripes.

10
Shade in the stripes of the forehead.

11
Shade in the fur using H and HB pencils. Make sure to give the fur direction.

12
Now move onto the next section down. Define the nose and wrinkles a bit more.

13
Shade in the area using a B pencil for the darker fur and an HB for the lighter fur.

14
Roughly shade in the cheeks and stripes while minding the whiskers. Start out lightly with an HB pencil.

15
Shade in both cheeks. Continue using a B pencil for the stripes. Use an H to outline the whiskers.

16
Shade in the top row of teeth. Use an H pencil for the gums and teeth and B and HB pencils for the darker parts.

17
Shade in the rest of the mouth.

18
Finish up the drawing by shading in the rest of the fur and the background. Go over your shading again where you need to. I hope you all enjoyed this tutorial. Comments and questions are more than welcome!
Comments 0
Details
November 4, 2011
Description: Hey everyone, I've wanted to create this tutorial for quite a while now. I absolutely love big cats and tigers are just really fun to draw so here's another tiger head tutorial. This time I'll show you how to draw a furious looking, roaring tiger.


