How to Draw Cartoon Dragons


1
Alrighty folks, I've included a few tips with this tutorial, as well as cool breakdowns of an elder dragon as well as a villainous dragon. 1) This is a normal posed dragon. Notice how the brows and eyes are relaxed, and the mouth has yet to yield an

2
Here's just a few diverse sketches of dragons with personality. What feeling do you vibe from these dragons? Is it majestic, relaxed, villainous, or mischievous? It's important you experiment with various expressions and character to create appropria

3
The dragon you are drawing is actually known to be an elder dragon. Begin with a small shape for the head, and then draw out the body that looks sort of like a mouth. Add a neck line.

4
You will begin sketching out the eyebrows which are arched and bold. Next, draw out the snout that sort of has a square like shape. Be sure to sketch in the detailing for the nose, and eyes.

5
Now we can work on getting the head, and mouth line drawn in so moving onto other steps will be easier to tackle. Start by sketching in the head, and then draw out the horns. You will sketch in the shapes of the eyes, and then add some wrinkling for

6
As you can see you are progressing along nicely. What I want you guys to do now is draw out the frilled horns on the sides of the face or head like you see here, and then get the jawline drawn in until a mouth is formed. Draw in some sharp teeth, and

7
Sketch out the neck first, and then draw out the large mass for the the chest, and then begin incorporating the shapes of the wings which should be wide and expand. Don't forget the spike for the thumb on the wing.

8
Continue to draw out the wings until they are complete, and then draw out the back end of the dragon's body. This includes the back, butt, and long thick tail.

9
Now that most of the dragon is drawn out, you can now sketch out the legs both front and back, and then draw in the top of the talons, and outline of the back feet.

10
You have come a long way to drawing an elder dragon. What you will do now is draw in the rest of the legs and then draw out the very elderly looking talons and or feet. Be sure to draw in the clawed nails, and then add some crease detailing for the f

11
Now that the dragon is complete, you can add some finishing touches before you move along to the next step to draw in the scales. Draw the marking line starting under the chin, and down the neck, chest, belly, and tail. Draw the bones for the wings,

12
Now it's time to draw out the scales that starts under the neck, and travels down the chest, belly and tail. Draw in some swirls on the elbows and knees. Erase the lines and shapes that you drew in step one.
13
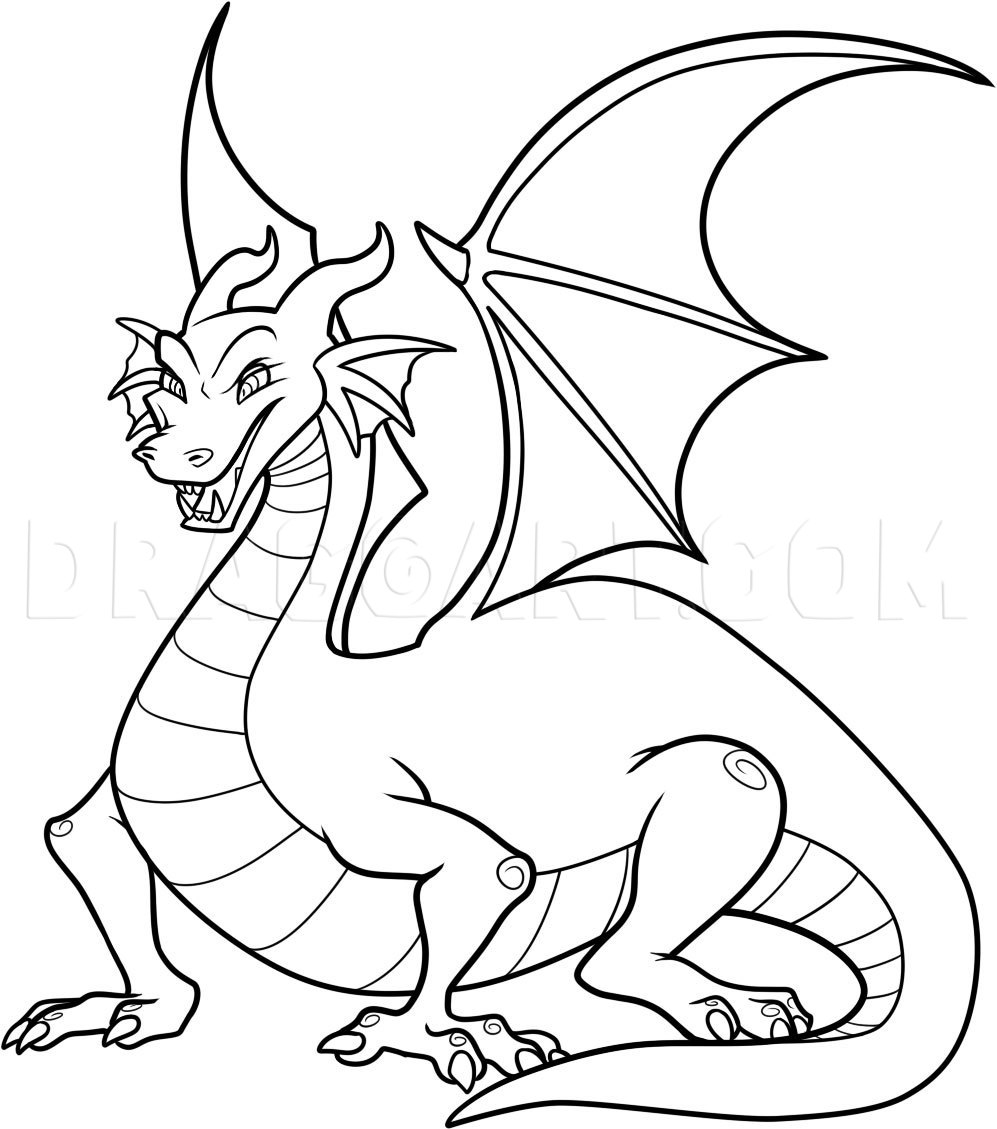
Here is what the dragon looks like when you are all done. Now you can color it in, and maybe even use your new dragon in a hand drawn action scene. Thanks for joining guys, and be sure to keep moving along this tutorial because there is still steps t

14
Start with two circles for each head. Notice how the side view of the left head is an oval shape and the shape to the right is a circle. Make sure you accurately draw the middle separation line for accuracy in facial placement.

15
Now, it's time to work on the facial for each dragon. Start with the base of the head and work your way downwards. Make sure you draw the mouth correctly for the left head. Notice how there is a slight curve in the upper lip. Right head: Notice each

16
Create a nice eye loop for the left head and the nostrils. Start with the snout and nostrils for the right head, keeping in mind that the tip of the snout is aligned with the center of both brows.

17
Then, work in details slowly for the left head. Draw a large jaw for the elder dragon's head, keeping the tip of it larger than the jaw line. Add lids, wrinkles beneath the eyes, and a few wrinkles to creases of the snout.

18
Next, work on the rather shapely lower jaw for our dragon to the left. Keep the jaw nice and curvy to add to the cartoony style. Add a bit of marking to the rim of the upper brow. Let's work on the intense work of our elder dragon to the right. We ar

19
Now, it's time work on the horns for our dragon to the left. These styled horns are meant to look thin and sharpened to accentuate the slimy and sinister appearance of this dragon. To the right, add a few details to the aged horns and a furred crest

20
Finally, it's time to work on the very necks of our grawsome dragons! Notice the dragon to the left, has a very slender and thin neck. This was added so it would look sinister and sneaky, much like a snake. However, our dragon to the right looks very

21
Let's finish off by etching in a few minor details to spice your dragons. Add spots, or circles to the surface to the skin of our elder dragon, creating an appear that is indeed aged (similar to sun spots on the elderly).

22
Here, we have two diverse and rather smexy dragons! I've included an aged dragon as well as a sinister villainous one, just for your liking. All you've got to do is add your own body, if you have the time to. Thank you for viewing this tutorial, and
Comments 0
Details
June 26, 2011
Description: Well, if there's anything I miss drawing, it's definitely dragons. There's just something about the new style I've whipped up that makes me want to draw more of them. Sitting on my PC, there's a sketched drawing of a super cool dragon with a nice background. After this one is posted, the next one will be pretty cool. Anyways, the style of this dragon is pretty traditional, traditional like the dragons you'd see in the old Disney cartoons, or toons of our modern days. Rarely do I ever see dragons with slender bodies in cartoons, besisdes Mulan. This dragon was drawn entirely during my livestreams of last week. There were lots of watchers and I thank ya'll so much for watching me that night! Get yourself a pencil, paper, and kneaded eraser to prep for this lesson. You will need patience and take your time with each and EVERY step. Be positive that you do not manage to rush during this process. Most of the time, rushing gets nothing perfected, not only that, but it also lacks the true skill of an artist. So, without further ado, let's move onto this dragon tutorial. Don't forget I'm open for requests, even if that means more dragon tuts. Thank you so much for viewing and don't forget to leave feedback on how you did, and what you thought of this lesson. Peace and love


