How to Draw Real Faces, Draw Faces


1
Introduction and 3 Things to Keep in Mind || As an untrained artist (or rather one who learned simply by a combination of real life observation and tutorials much like this one), there are a few things about faces that I have learned: a) Every obje

2
Facial Layout || When drawing a face, most artists begin with some sort of circle. This circle may represent the head in its entirety, or just the top of the head, but it provides a basic landscape for the features of the face. Heads are never natu

3
Eyebrow Layout || Whoa! Eyebrows get a step of their own? Yes. Eyebrows lie somewhere above the eye, but are far more diverse and determine the size of the forehead, the expression, and provide much of the character of the face. As a general rule,

4
Structuring and Lining the Eyes || There are many different eye shapes and settings. Eyes can be wide-set, close-set, puppy-dog and hooded! What does all of this mean? Wide set eyes are set slightly wider than one eye-length, close-set slightly clo

5
Structuring and Lining the Nose || The nose consists of four simple lines placed around an upside-down triangle. The two triangles that represent the geometrical shape of the nose can be drawn using facial landmarks. From the center of the line tha

6
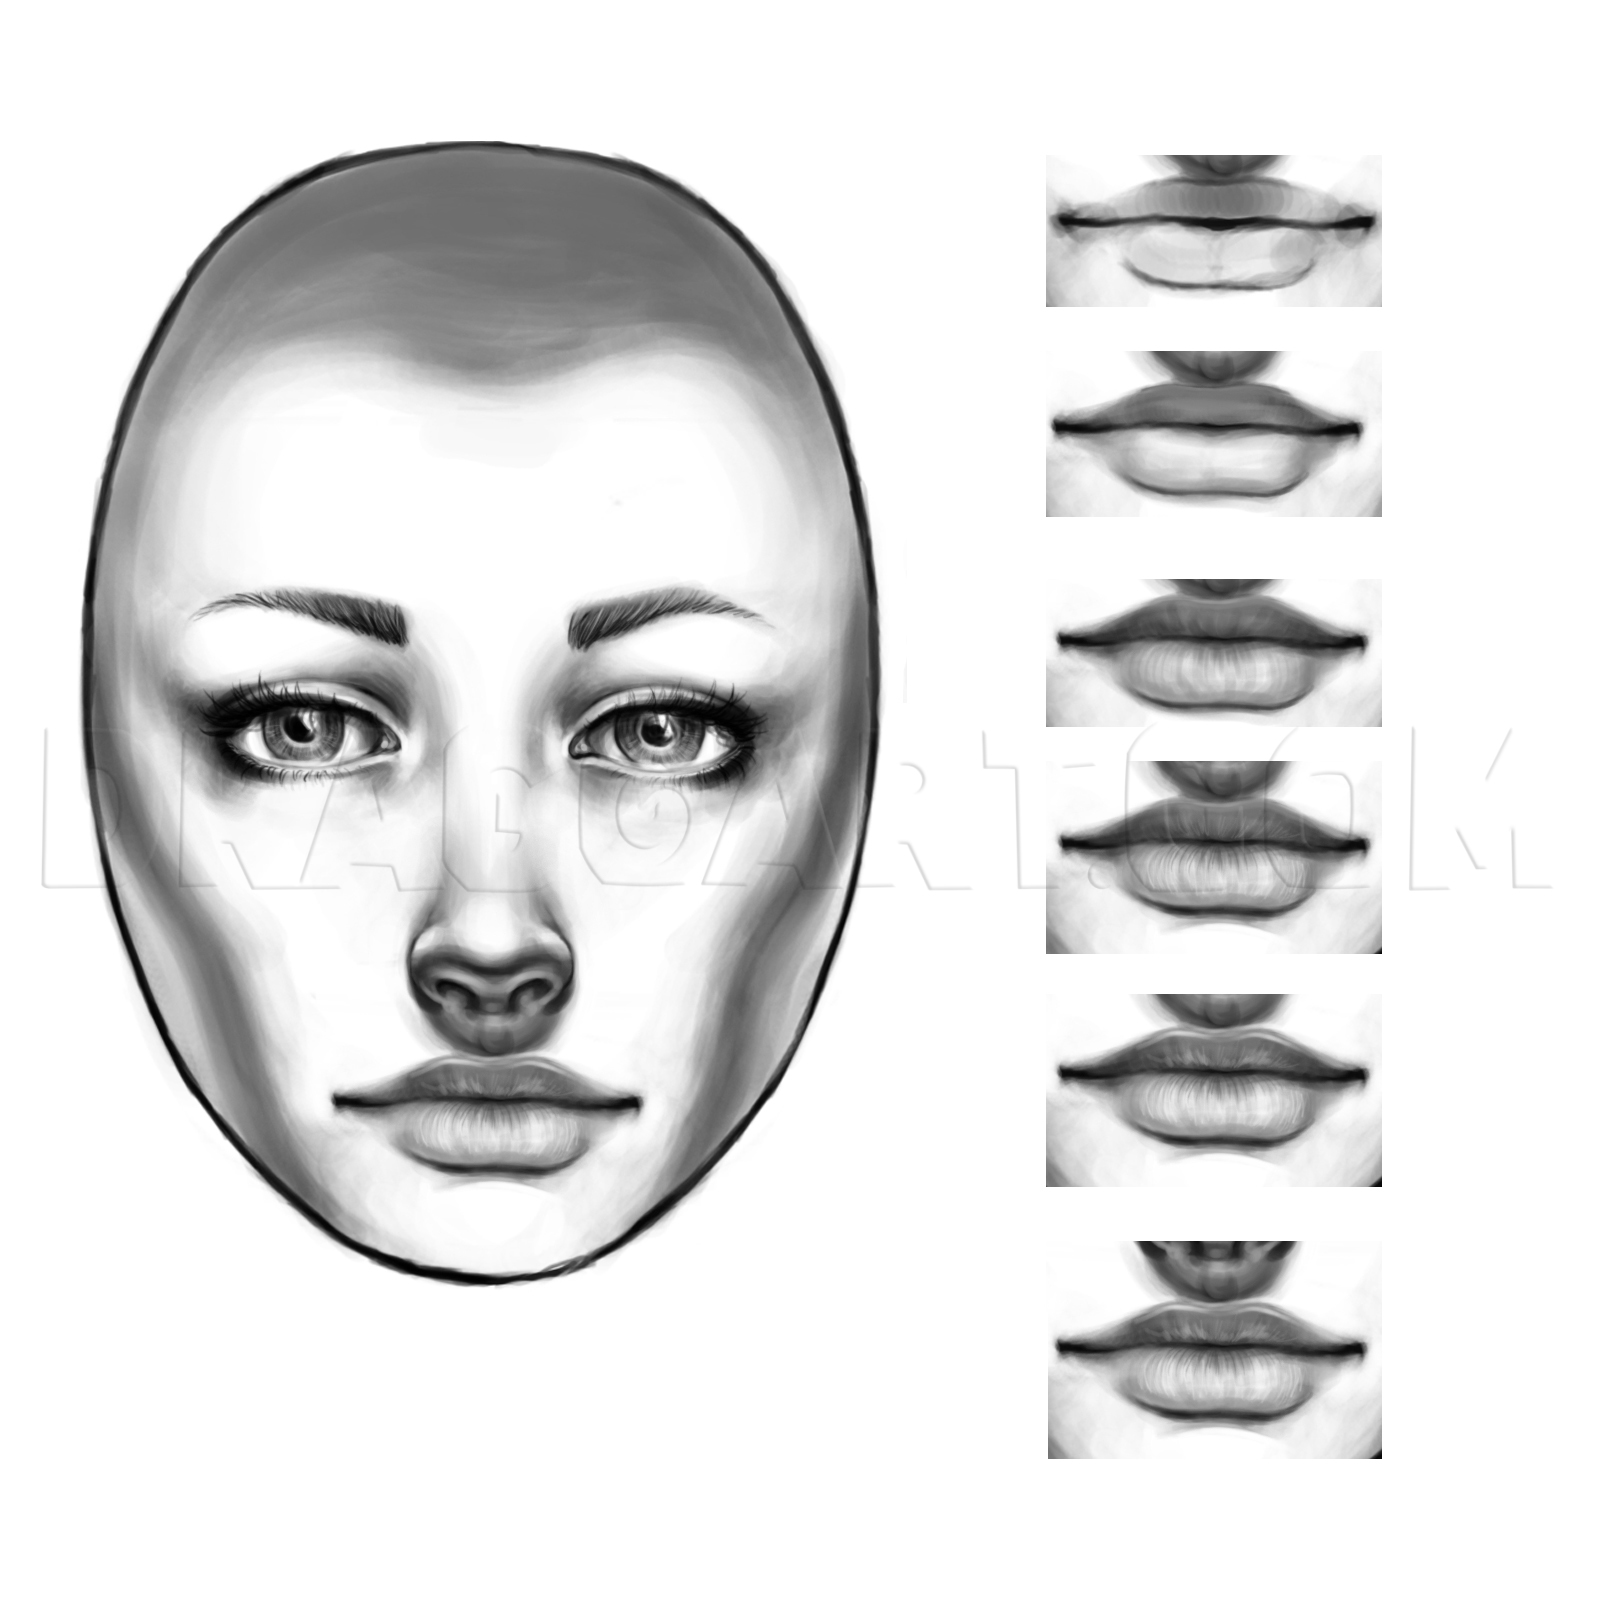
Structuring and Lining the Mouth || I like to think of the mouth as a combination of four ovals positioned around a line. This line should be darker in the edges and center, and should come to two very subtle peaks, as shown. These peaks will cradl

7
Facial Structure and Shading || This step is where your portrait really starts to take shape: shading! In this step we will be paying attention to face shape. If white represents your midtone skin shade, then the blue represents shadow and the yell

8
Detailing the Eyes || This is where your portrait truly receives its identity. Eyes have the power to capture the viewer, even if every other part of the portrait is off. Begin by shading the outer corners of the whites of the eyes. This will make

9
Detailing the Nose || The nose is the easiest part of the face to draw in profile, but the most difficult to draw from the front. Most of its bulk must be represented and portrayed by shadow and highlight, as it is little more than a bump with two h
10
Detailing the Mouth || Begin by shading the upper lip. Aside from a highlight that we will add later in this step, the upper lip should be a good one or two shades darker in its entirety than the lower lip. Add shading to the corners of the mouth a

11
The Jawline || Jawlines come in many shapes and sizes, and often determine the overall face shape. Square and triangle jawlines are often seen as more masculine, though they are also used to portray strength in women. Oblong and oval face shapes ha

12
Imperfections and Optional Details || This is where you really get to make your portrait unique! Moles, freckles, birthmarks, pores, zits, you name it! These my seem like small details, but they take your portrait’s realism to a whole new level!

13
Ears || Ears aren’t truly necessary to draw a face, as you can always draw hair to cover them. However, I figured I might as well add in a short step about them and their placement just in case you want to draw a Mohawk. ;) Ears are another ve

14
Hair: The Frame of the Face || Hair frames the face, but if drawn incorrectly it can come out looking flat, stringy, or lasagna-like. I generally begin with an outline, marking pieces and parts that I want to stand out. Then, I make general shading

15
Conclusion || You now have a complete portrait from baseline to stray hairs! You can go back and tweak, add imperfections, or do what you like until you feel like you are finished. *Tip: When working digitally the liquefy tool comes in very handy
Comments 0
Details
June 11, 2011
Description: In this tutorial, I will show you how to freehand draw a realistic face. The tutorial can be adapted for drawing digitally or traditionally! I will be drawing the portrait of a young woman from oval to stray hairs, all without using a single reference! (Though references for each piece can definitely be beneficial and the tutorial can be adapted to include drawing from a reference. Simply pay close attention to your model for each piece!)


