How to Draw a Flying Bird, How to Draw a Bird


1
Ok folks, I'll be introducing to you a few tips on drawing flying birds. Here as you can see, the wingspan edges are both diagonally relative. Remember to keep it that way when you're drawing a bird spreading its wings. On large birds, their primarie

2
Next, here is a spread wingspan of an eagle, and notice a few key points here. The primaries have large gaps that form once they soar in the air. The gravity from the wind acts on the wings, warping the positions of the feathers.

3
Here are two differences between a large bird wing and a smaller bird wing (sparrow, finch,small parrots, hummingbirds). The primary feathers are less prominent on smaller bird wings.

4
Here are simple shapes of how bird wings are created from. Notice how the span of an eagle is made of long rectangular shapes.

5
Start with an egg shape for the birds body, and then draw out a triangular shape for the tail like so. When that is done you can draw two arched lines for the wide spread wings.

6
All you have to do here is draw in the bottom parts of the wings to make leaf like shapes.

7
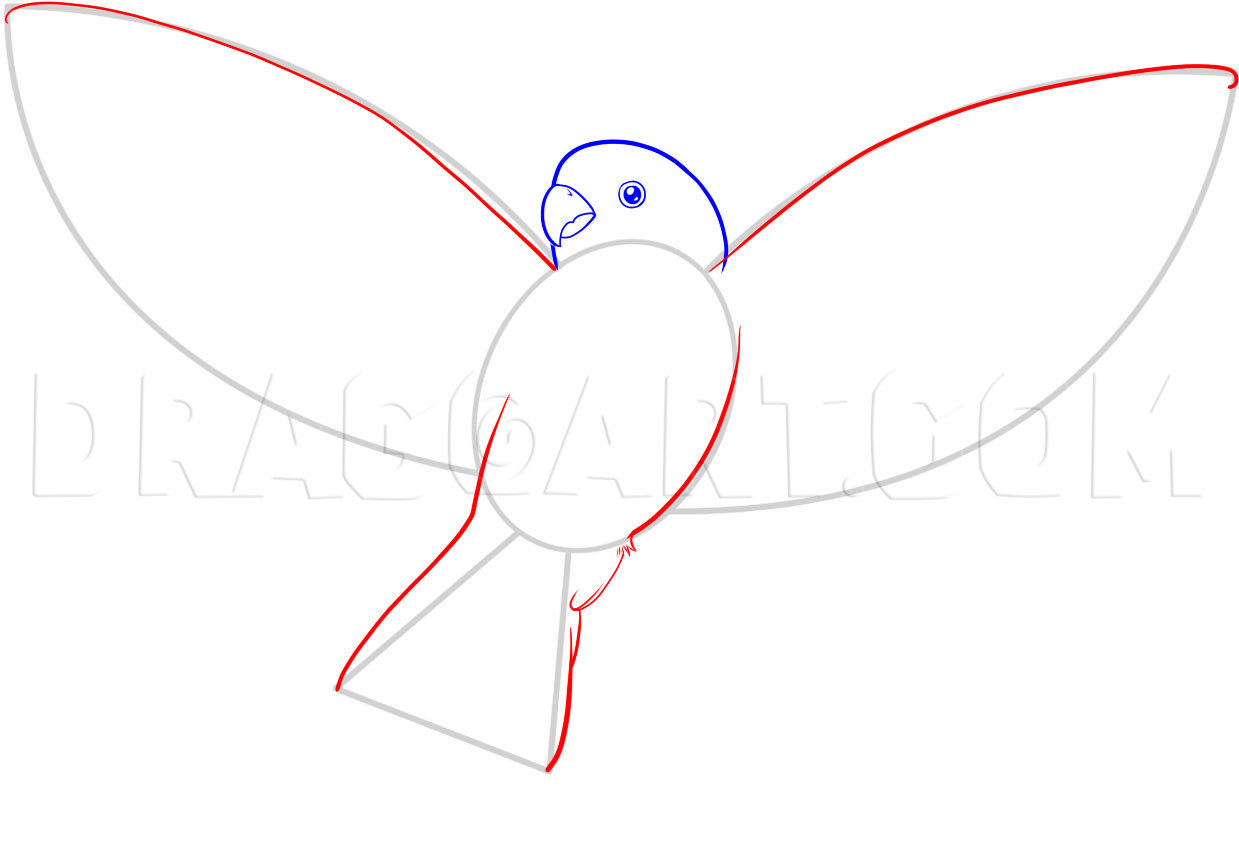
Draw in a hump shape for the head, and then draw in a perfect circular eyeball as well as color it in leaving a white border around the solid eye.

8
All you have to do here is carefully or slowly draw out the parrot's small beak, and then move to step nine.
9
Now you can begin sketching out the wings, the chest, and then some of the back and tail on both sides. Leave the bottom of the tail open it will be filled in with a later step.

10
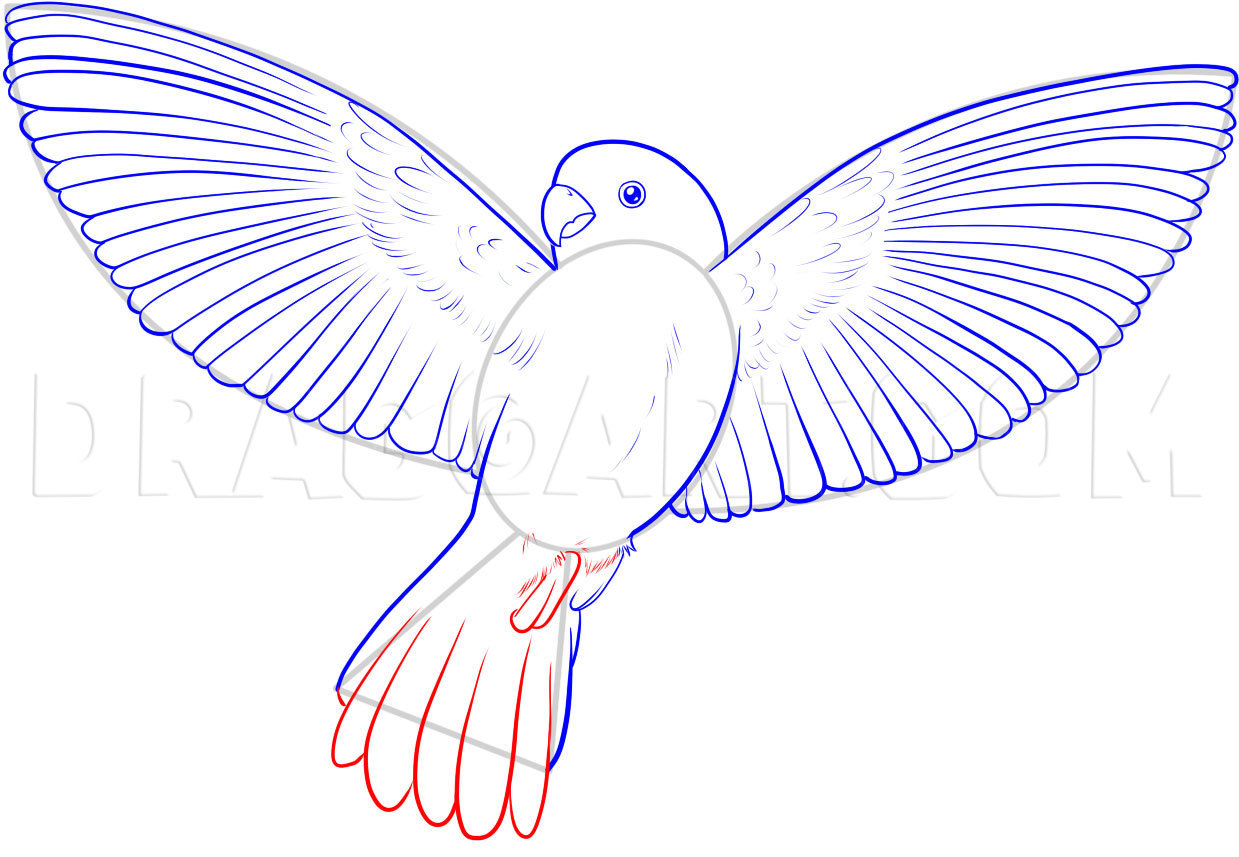
Now, this is where you are going to take your time because you will carefully start sketching out the birds beautiful display of spread wings. Each feather should be drawn out, and as you can see the feather get smaller and more narrow the further yo

11
Now that you have the wings all drawn out every so carefully, you will now begin sketching in some of the soft feathers scattered under the wings and on the belly.
12
You did it, you finally reached the last drawing step. All you have to do here is draw out the tail feathers to complete the body, and then sketch out the small thighs, legs, and feet. Erase any visible guidelines that you drew in step one to clean u

13
Here is what the bird looks like when you are all done. Now that you have finished, you can color in the new flying bird any shade you like. Thanks for joining me with this tutorial on how to draw a flying bird.
Comments 0
Details
May 22, 2017
Description: How about another bird lesson that is in flight instead of just sitting there doing nothing? With this tutorial I am going to show you "how to draw a flying bird", step by step. Choosing and drawing a specific bird to be in an action pose can be challenging because not only does the bird need to look imaginable, it also has to be beautiful, and graceful as well. This is why pictures of flying doves are the first thing that comes to mind when thinking of a specific bird to draw. The bird I chose is a form of small parrot, and the reason why I decided to use a parrot species, is because they are colorful birds, and their wings are almost always pretty spectacular. This tutorial has a few helpful tips that will enable you to draw wings accurately because as you know the wings of a bird is what distinguishes a bird. When a species of bird is studied or talked about, one of the top five answers to common questions is bird wingspan. I think you will have fun teaching yourself an easy way to "draw a flying bird" using steps that are easy to understand and simple to follow. I will be back soon with more drawing fun so stay tuned in if you can.