How to Draw a Pumpkin Patch


1
To start this lesson on how to draw a pumpkin patch you will need to draw some guidelines and shapes to form frames for your objects. Start with the landscape lining for the foothill of the patch. Next draw the trunk of the tree and since the tree wi

2
In step two all you have to do is draw the beginning shape of the dead spooky tree. Once the shape has been drawn you can then add some bark swirls and such.

3
Finish drawing out the rest of the tree and then draw the face on the front of the trunk as you see here. Add the detailing tree lines and then draw the arch for the moon.

4
Now start sketching out the actual shape and texture for the pumpkins in the patch and then draw the leaves that are sticking from the tops. Be sure to draw your pumpkins to be all different sizes and shapes.
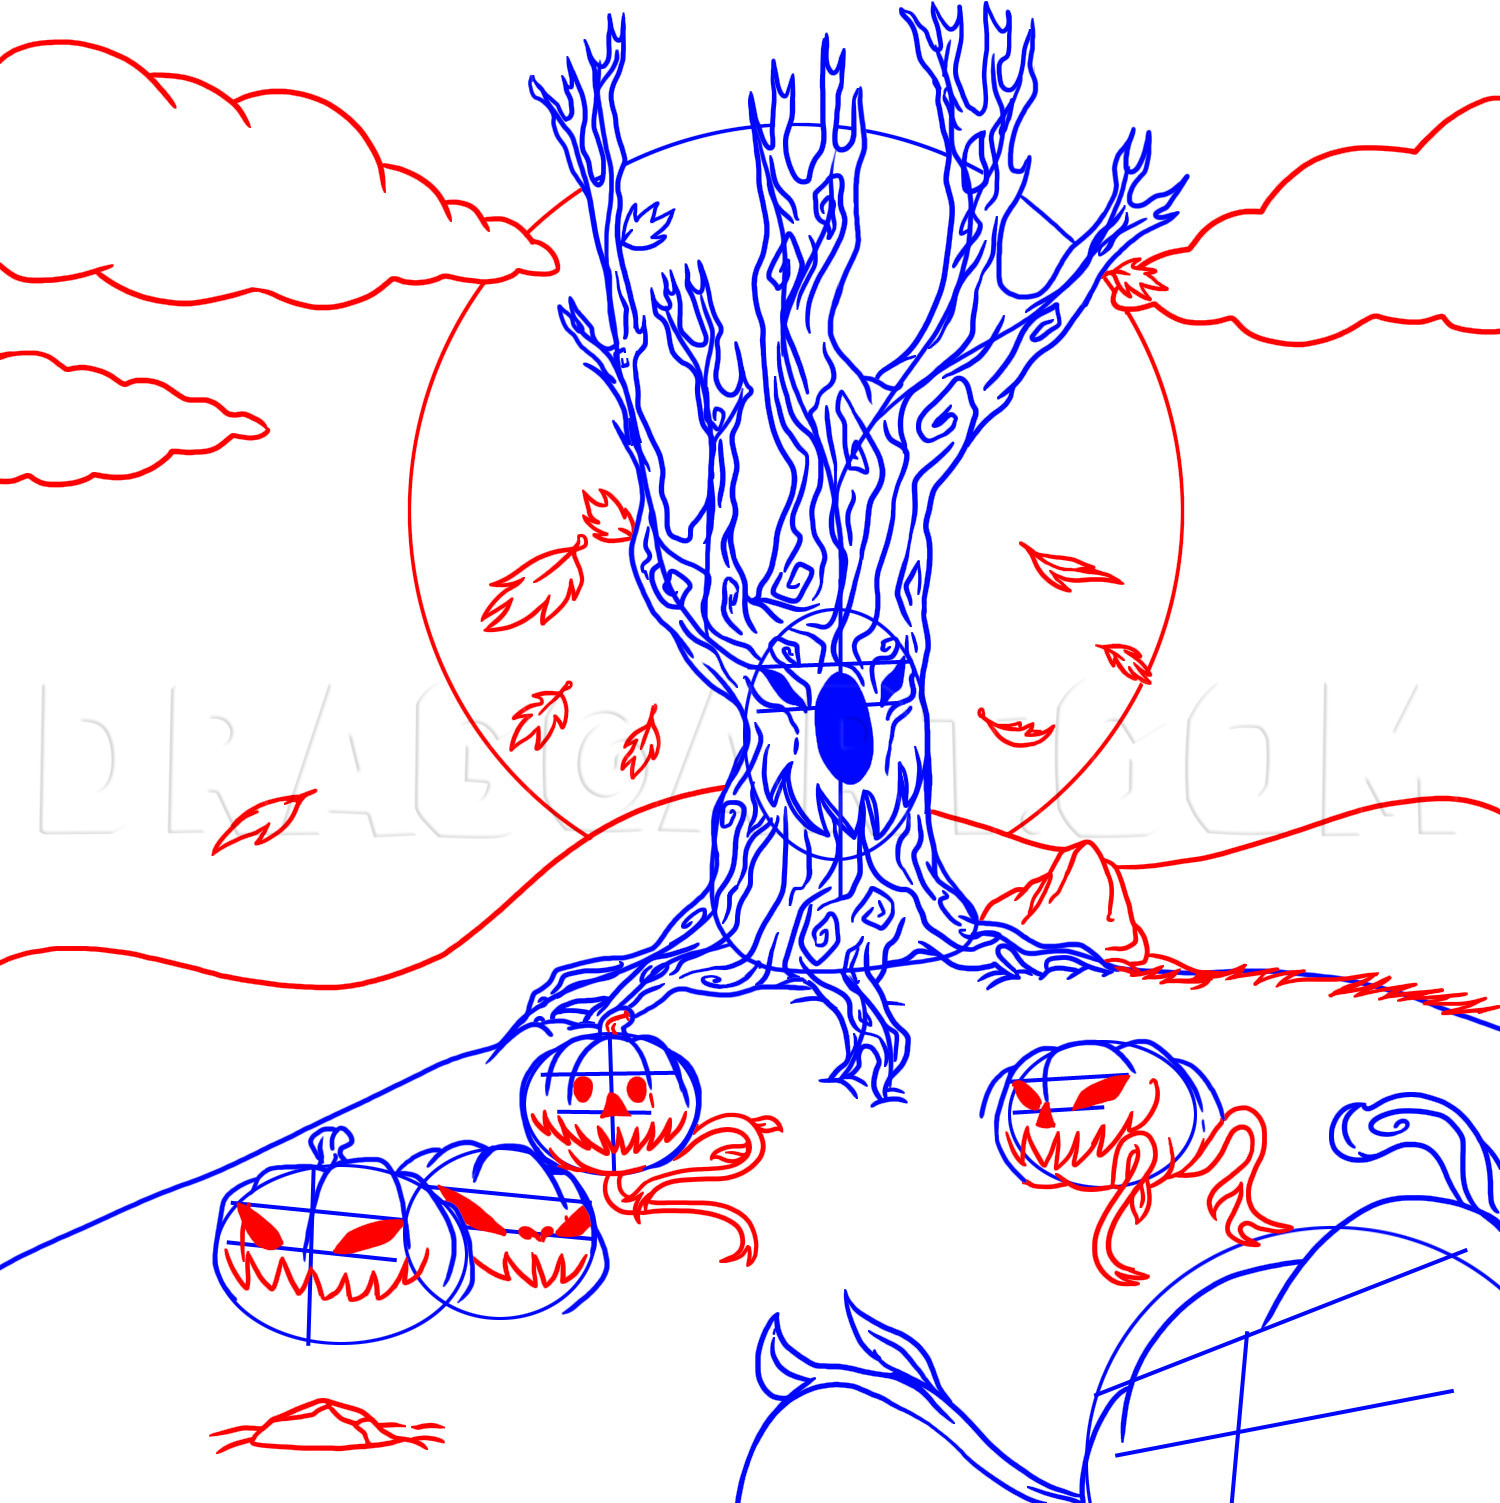
5
You will now finish the shape of the night moon and then draw the puffy clouds. Next draw the falling leaves as you see here and make them look like they are blowing in the wind. Sketch out the hills behind the tree and then sketch in a bit of dead g

6
For your last drawing step you will finish sketching out the shape of the pumpkins and then draw the rest of the vines and stems. Sketch in the jack-o-lantern face to the biggest pumpkin on the patch and then start erasing all the guidelines and shap

7
When you are done your landscape should come out looking like the one you see here. Color it in and you have just learned "how to draw a pumpkin patch step by step".
Comments 0
Details
September 18, 2009
Description: The next three lessons are all based on Halloween objects, things, and places. The first is going to show you "how to draw a pumpkin patch step by step”. Now I already have a scarecrow lesson, but what I don‘t have is a tutorial on a very important part of Halloween. The pumpkin patch came out so incredibly cool and I can’t wait for you guys to tackle this lesson. I did also update the scarecrow that was already submitted from last year. For those of you that don’t remember what it looked like, let me assure you it wasn’t like your typical scarecrow. It looked more like a monster you would see from Hellraiser or something. There is actually a lot of lessons that I have to fix because they are so prematurely drawn. Which is not a bad thing, I just gotten better at drawing so why would I leave the old ones looking the way they do. I also redrew and submitted the raven, and I will be redrawing the dirt bike either today or tomorrow. Well let’s get back to talking about this lesson shall we? As you know a pumpkin patch is where pumpkins are grown. Farmers will often have hayrides during the month of October through the pumpkin and corn fields for the youngsters, and there is also more spookier places for older kids my age to go and get really creeped out. In the background of the pumpkin patch I drew the headless horseman as a silhouette because as you know he too has a pumpkin for a head. There is also a creepy looking village as well in the background. One famous pumpkin patch is the one that Charlie Brown was in with his Halloween special “The Great Pumpkin”. Anyway, I hope you have fun with this lesson on “how to draw a pumpkin patch step by step”. I will be back soon with more drawing fun so stay tuned in for more on the way. Peace peeps and happy drawing.