How to Draw an Oak Tree


1
Draw a big oval circle and then start drawing out the branch lines that will hold the leaves of the Oak tree. You will then draw out the trunk as you see it here and make sure you add a guideline down the middle.
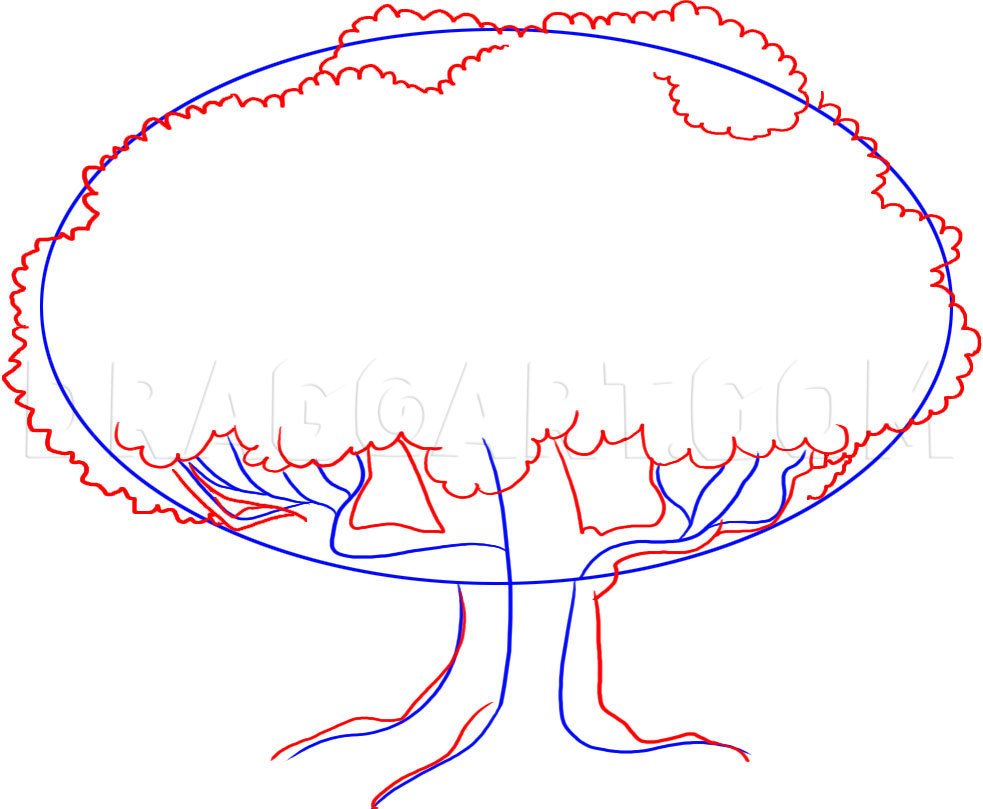
2
In this step you will start drawing out the curly looking lines that go all the way around the oval shape you drew in step one. Once you have done this you can add a few layers of leaf branches on the top. Thicken the trunk of the Oak tree and then d
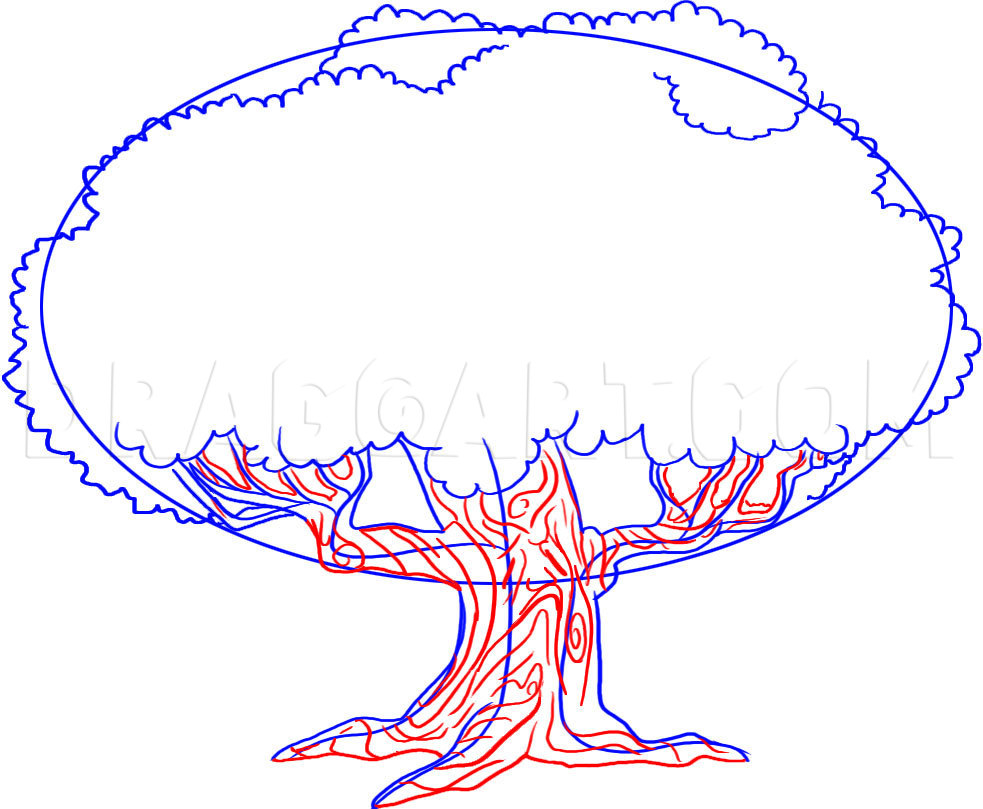
3
What you will do in this step is draw out all the detailing lines throughout the trunk of the tree and these lines as you know will form the bark. As you can see I have drawn in a face because the Oak tree is often referred to as the "sad one"

4
For your last drawing step you will sketch in all the detailing ripples on the afro like shape of the Oak tree. Once you have done that you can start erasing the guidelines and shapes that you drew in step one.
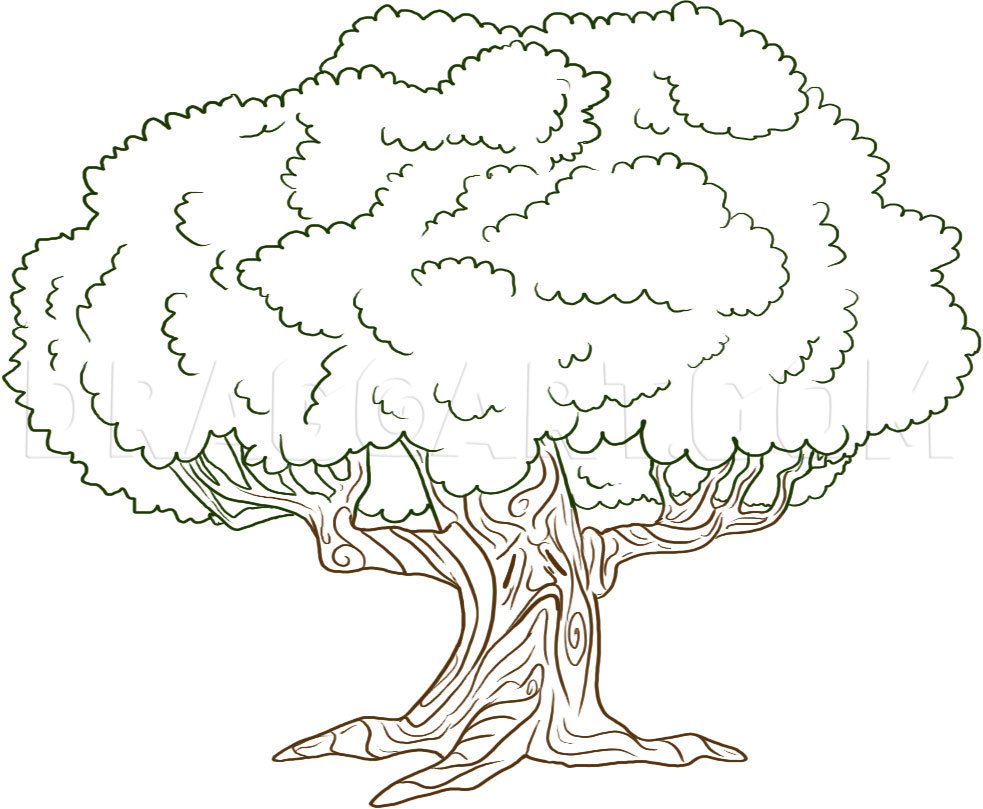
5
Once you are done you should end up with a tree that looks like the one above. All you have to do now is color it in and you are done. If you want you can even add some grass, a swing, or maybe even a picnic scenario. You have just learned how to dra
Comments 0
Details
March 21, 2009
Description: Trees are living breathing plants that grow all around us and help put clean oxygen in the air that we breathe. I want to do a lesson on how to draw an Oak tree step by step. Why an Oak tree you ask? Well for one, the Oak tree is one of the world’s popular specie of tree, and secondly they are the fruiterers of the acorns that drop to the ground and feed all those squirrels that live in the holes of the tree. The Oak is a massive tree that is very hearty, and beautiful. They are very wide in size and there aren’t too many trees in existence that have a wider range than the Oak tree. Their branches are often knotted with long twigs, and there is close to three hundred different types of Oak in existence. I don’t know all the names of the different types of tree but I can name a few. There is the White Oak, English Oak, Turkey Oak, and the Evergreen Oak. These trees are best known to shade our backs when we are exposed to too much sun, they also let us swing on their branches and play house on their arms. When we want to feed, we often sit under their umbrella and spread out a sheet on the grass to relax on. The Oak tree even lets us engrave our names or initials into their skin and sometimes we will often have our first kiss under a big Oak tree. I had a lot of fun drawing out this tree and I wanted to make sure that everyone was able to learn how to draw an Oak tree step by step. i am going to update the tutorial so that you will also be able to learn how to draw an Oak leaf as well, I forgot to include this in with the lesson. The instructions are simple to understand and follow and the steps are easy to read. I will be back with more lessons so stay tuned for my return.


